0 $0.00

Triiaxis

Jonathan Boggs

This article is being constantly updated with new techniques or things we have learned. If you have any questions please leave a comment and will get back to you. It could help someone else out!

Overview

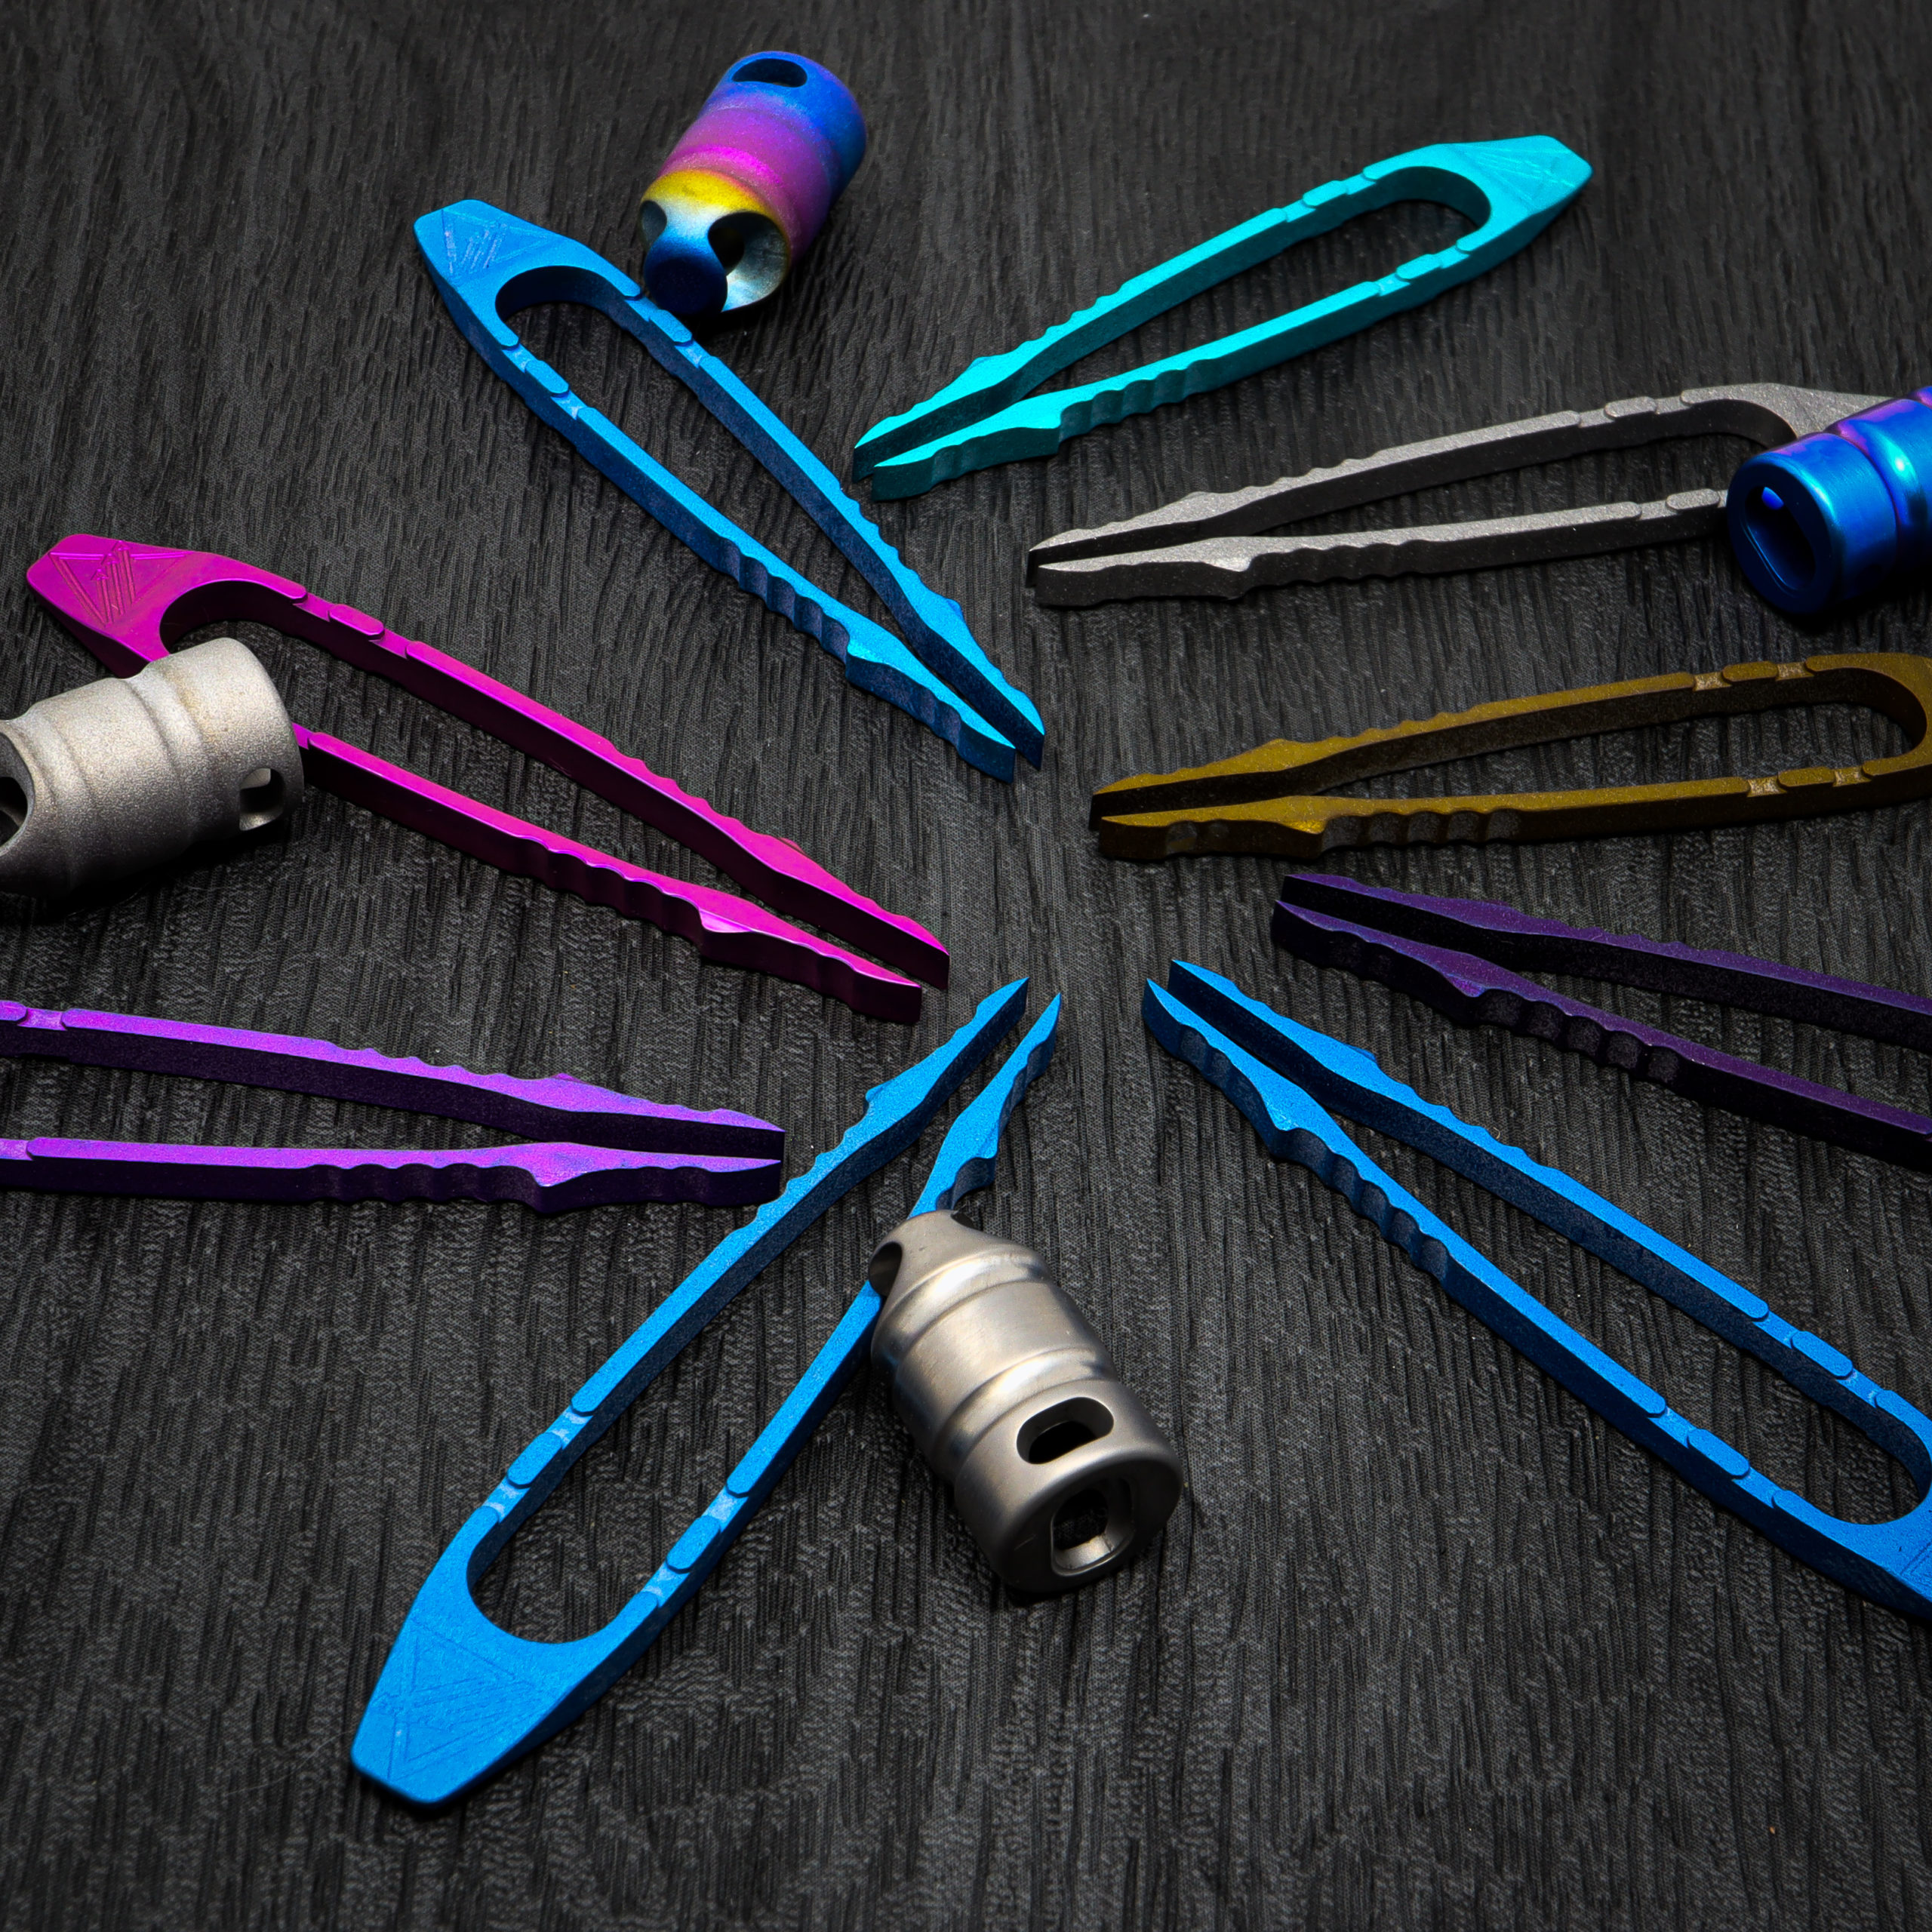
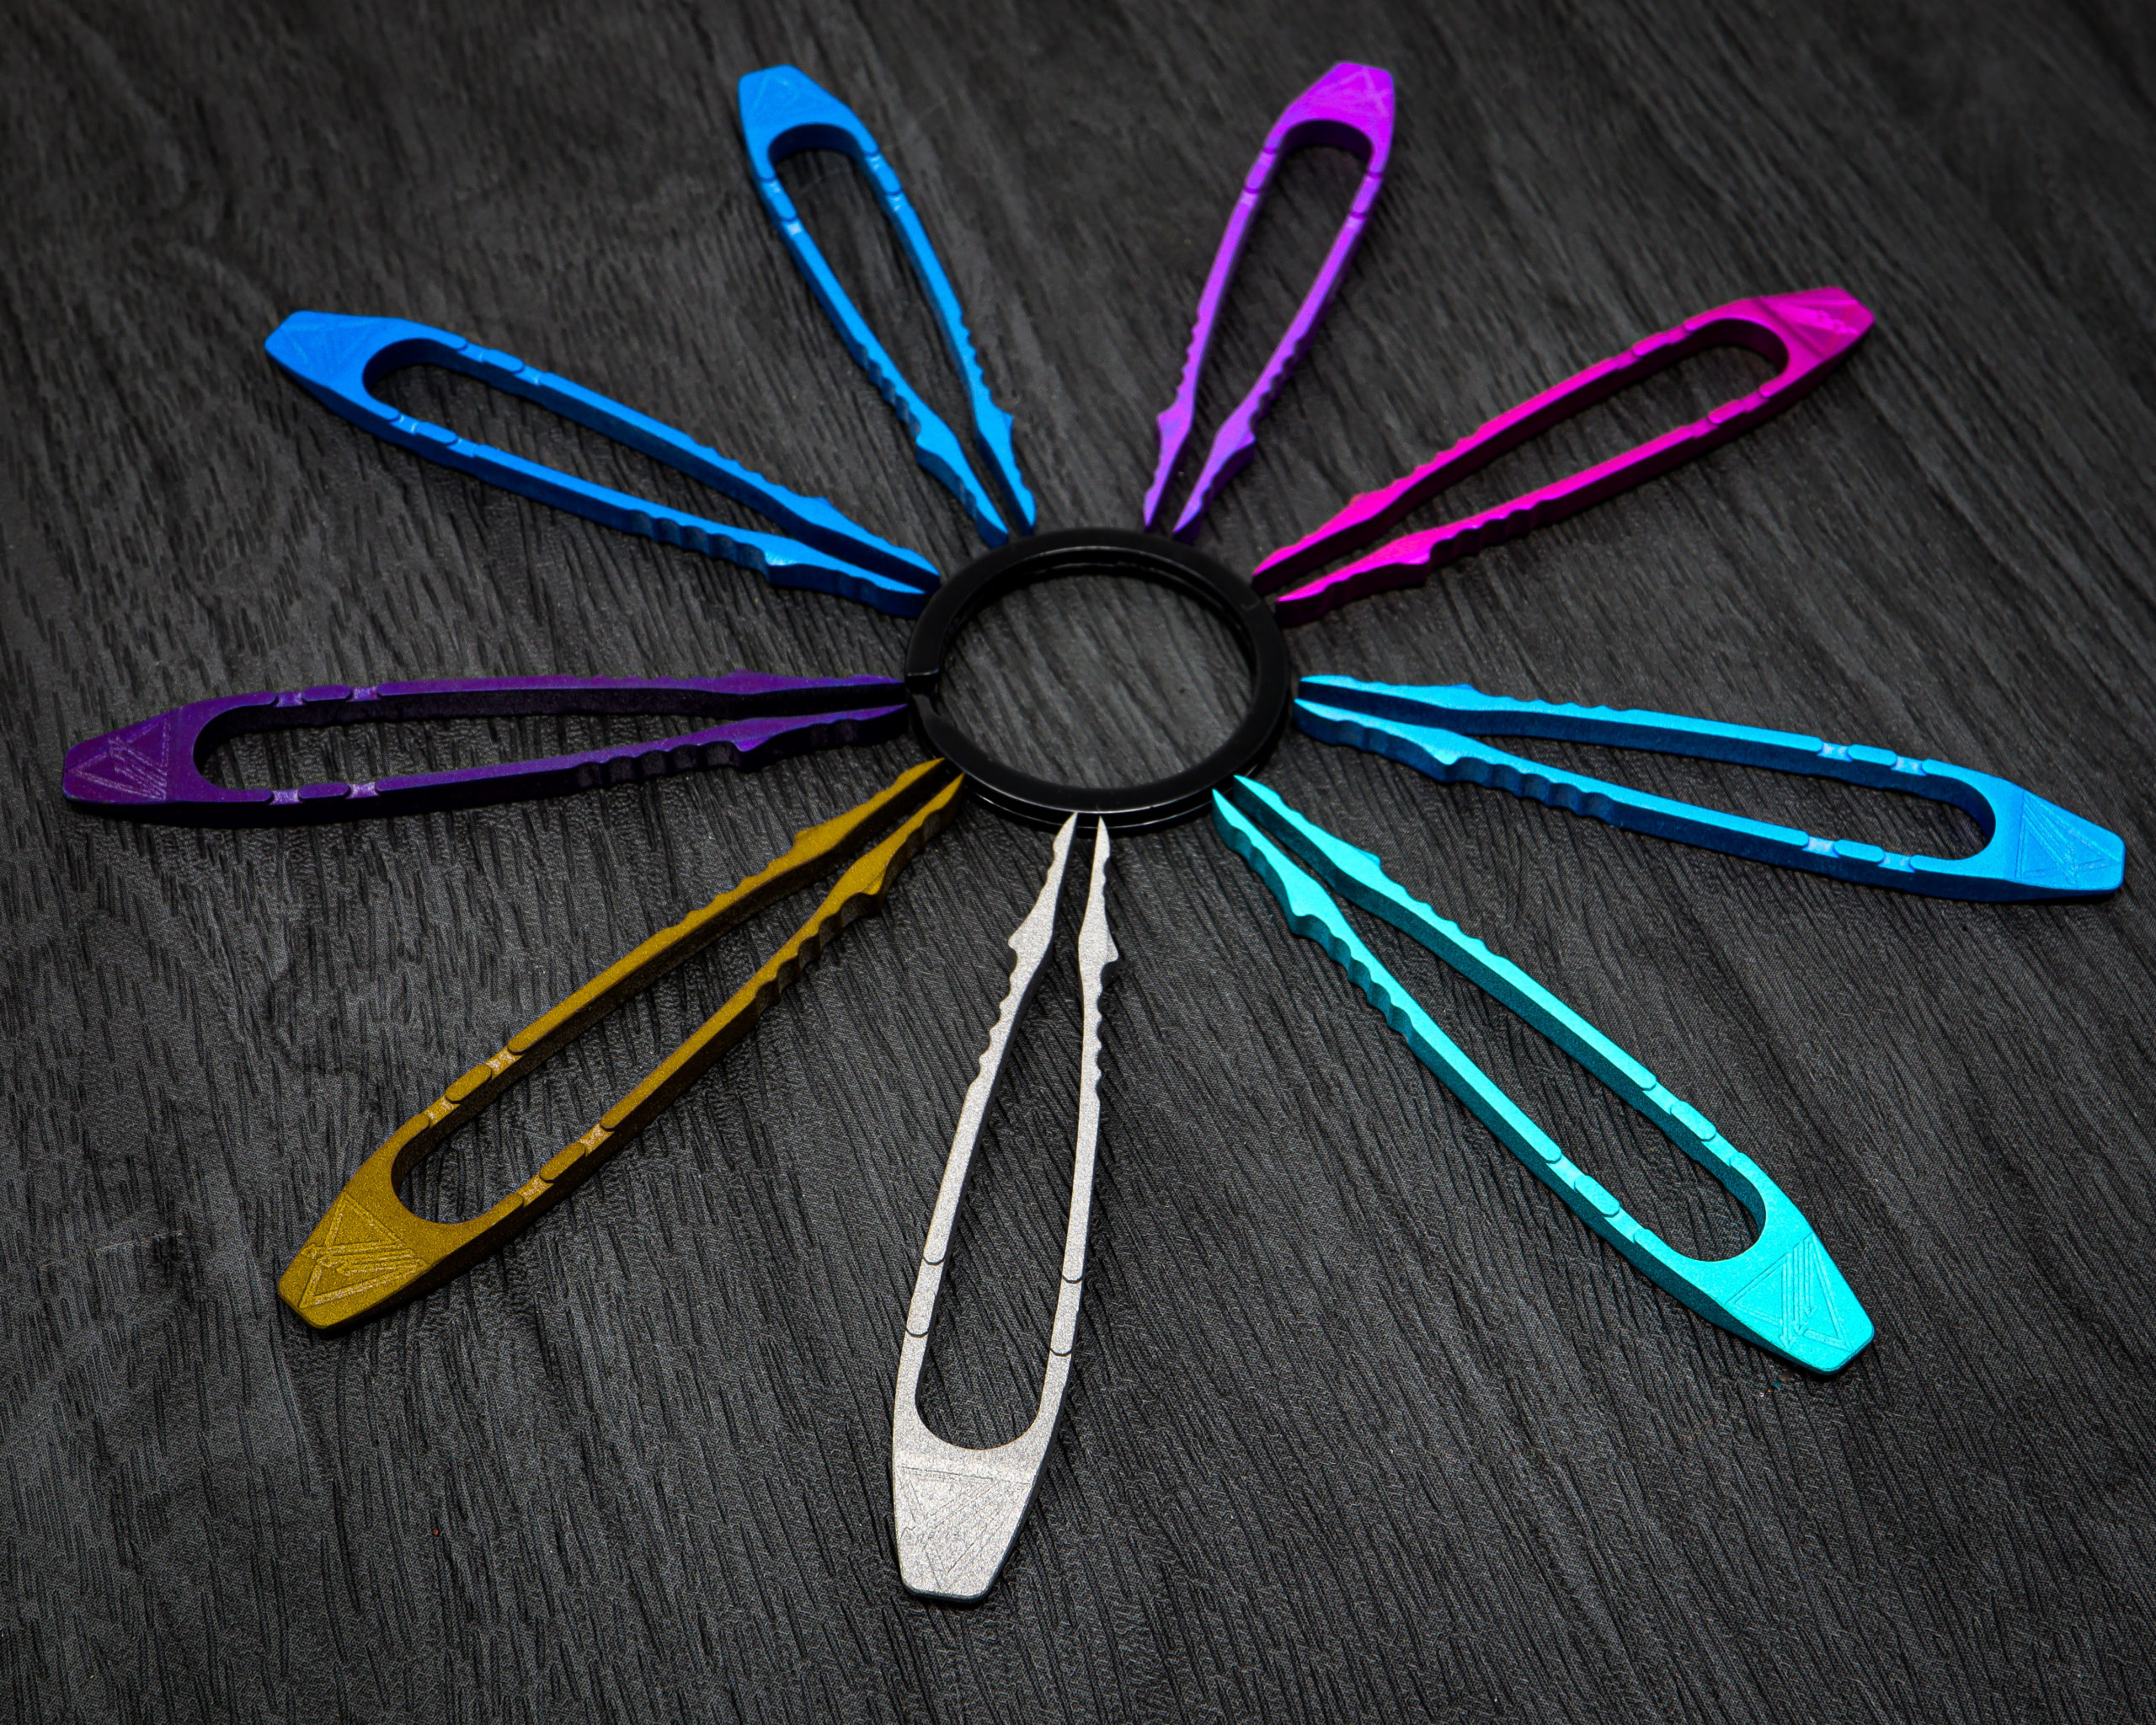
In this article will go over our anodizing setup and how to anodize your own titanium parts. Anodizing titanium is an electrolytic process that is used to modify the oxide layer on the surface of a titanium part via electric current. Different voltages lead to different thickness of the oxide layer. When light hits the titanium surface, color is shown that corresponds to the layers thickness.

Who is titanium anodizing for?

Anyone who works with titanium that would like to add some color to their parts. Knife makers, watch makers, and many DIY projects benefit from knowing this skill.

Who is this article for?

This was written for any individual or small business that may find themselves wanting to anodize titanium for color. This is a guide based on our personal experiences / setup, so we make no specific scientific claims, and we do not claim responsibility if you injury yourself. Colors ≠ flavor.

Color Possibilities From Anodizing Titanium

Required Materials

  1. 1L plastic cups with lids: We use 7 in our setup. We get ours at Home Depot
  2. 2L plastic cups with lids: We use 1 for our anodizing bath. We get ours at Home Depot.
  3. Simple Green: For parts cleaning.
  4. Distilled Water: 8L is a good amount to start with. Water needs to be changed periodically.
  5. Baking Soda: For alkaline neutralization after etching.
  6. Trisodium Phosphate (TSP): For the anodizing bath.
  7. Titanium acid etch: Multi-etch, or follow our guide on making your own.
  8. A way to heat the acid etch to 60c (140°): Crock Pot is what we use.
  9. Titanium wire: We use 16ga grade 1.
  10. DC power supply: We have also used this one with good success.
  11. Piece of titanium that has more mass then the parts you are trying to anodize, which will be our cathode.

Optional Materials

  1. Ultrasonic cleaner: Let technology clean your parts. This is the smaller one we also use.
  2. Soft bristle tooth brushes: For when you want to be the technology that cleans your parts.
  3. Fish tank bubblier: Helps in keeping contaminants off parts when anodizing.
  4. Mesh: Prevent touching the cathode during anodizing.

Safety

  1. Rubber or disposable gloves.
  2. Safety glasses or goggles.
  3. Fume hood or respirator.

Setup

Example Setup

Workspace

Get yourself a sturdy work area. A thick wooden topped bench is what we use. We do not recommend using a metal table, because if any of the acid etch touches steel it will rust very quickly. Make sure this area is very well lit, and has access to power outlets.

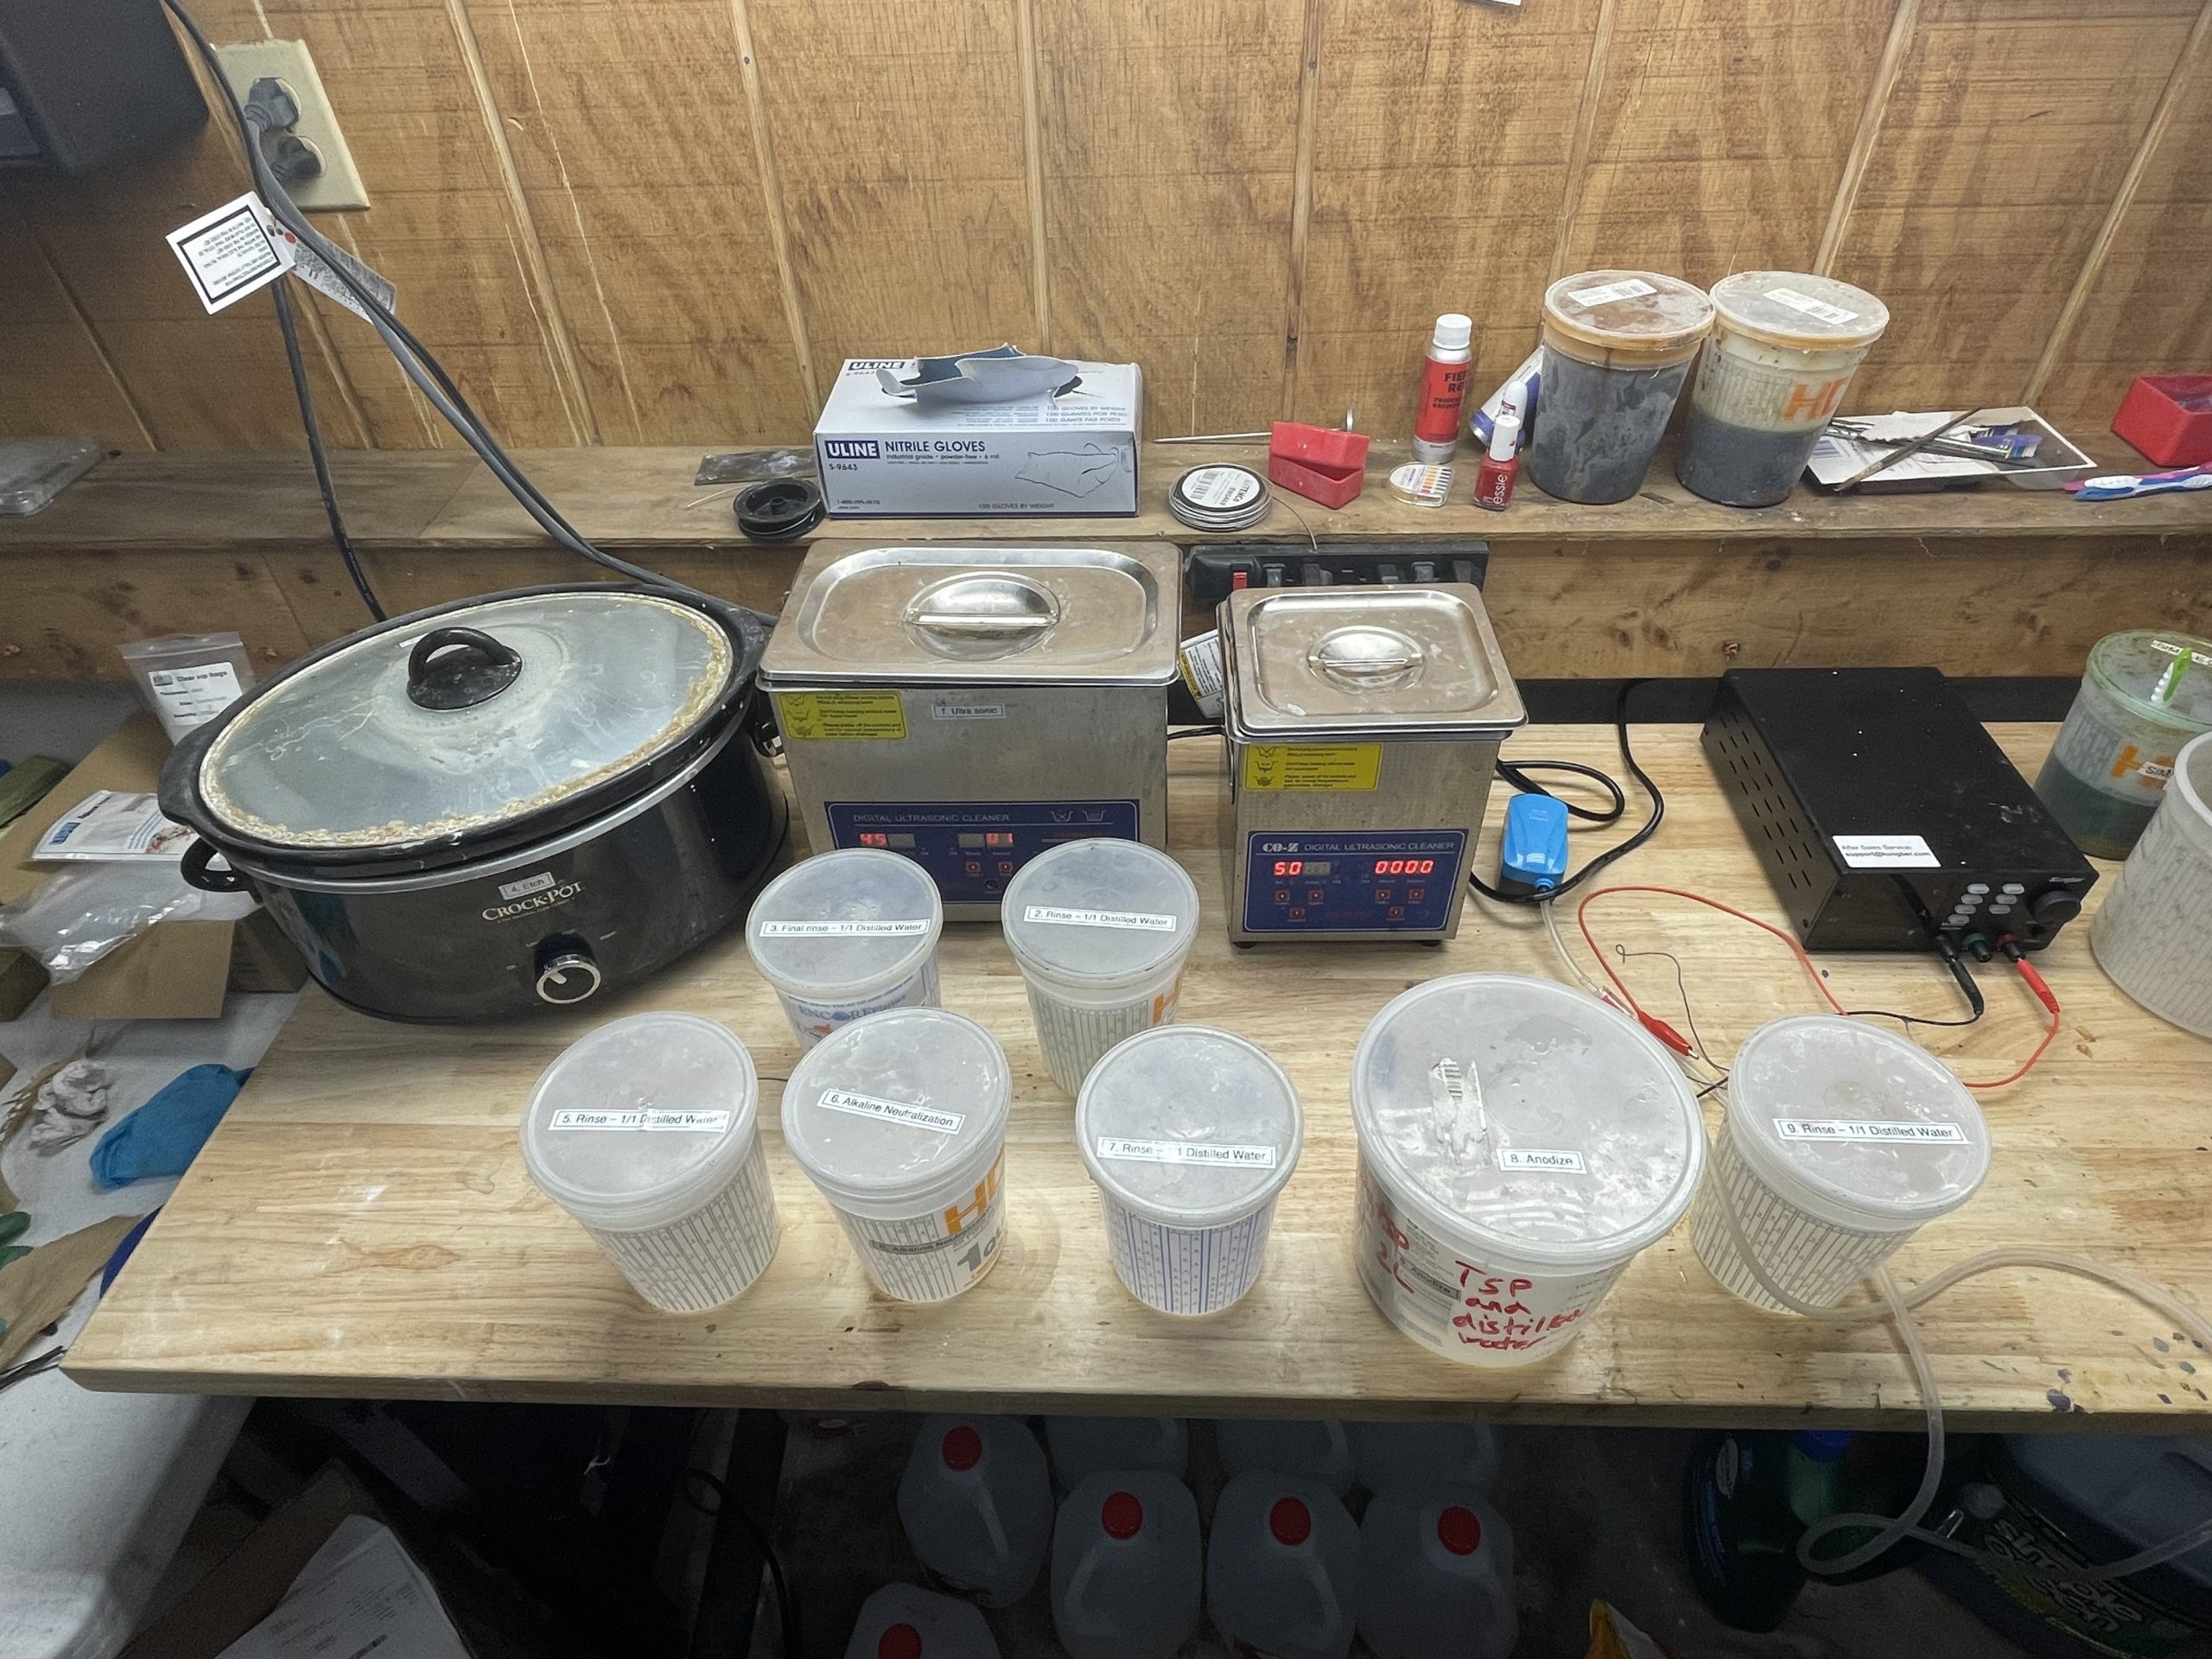
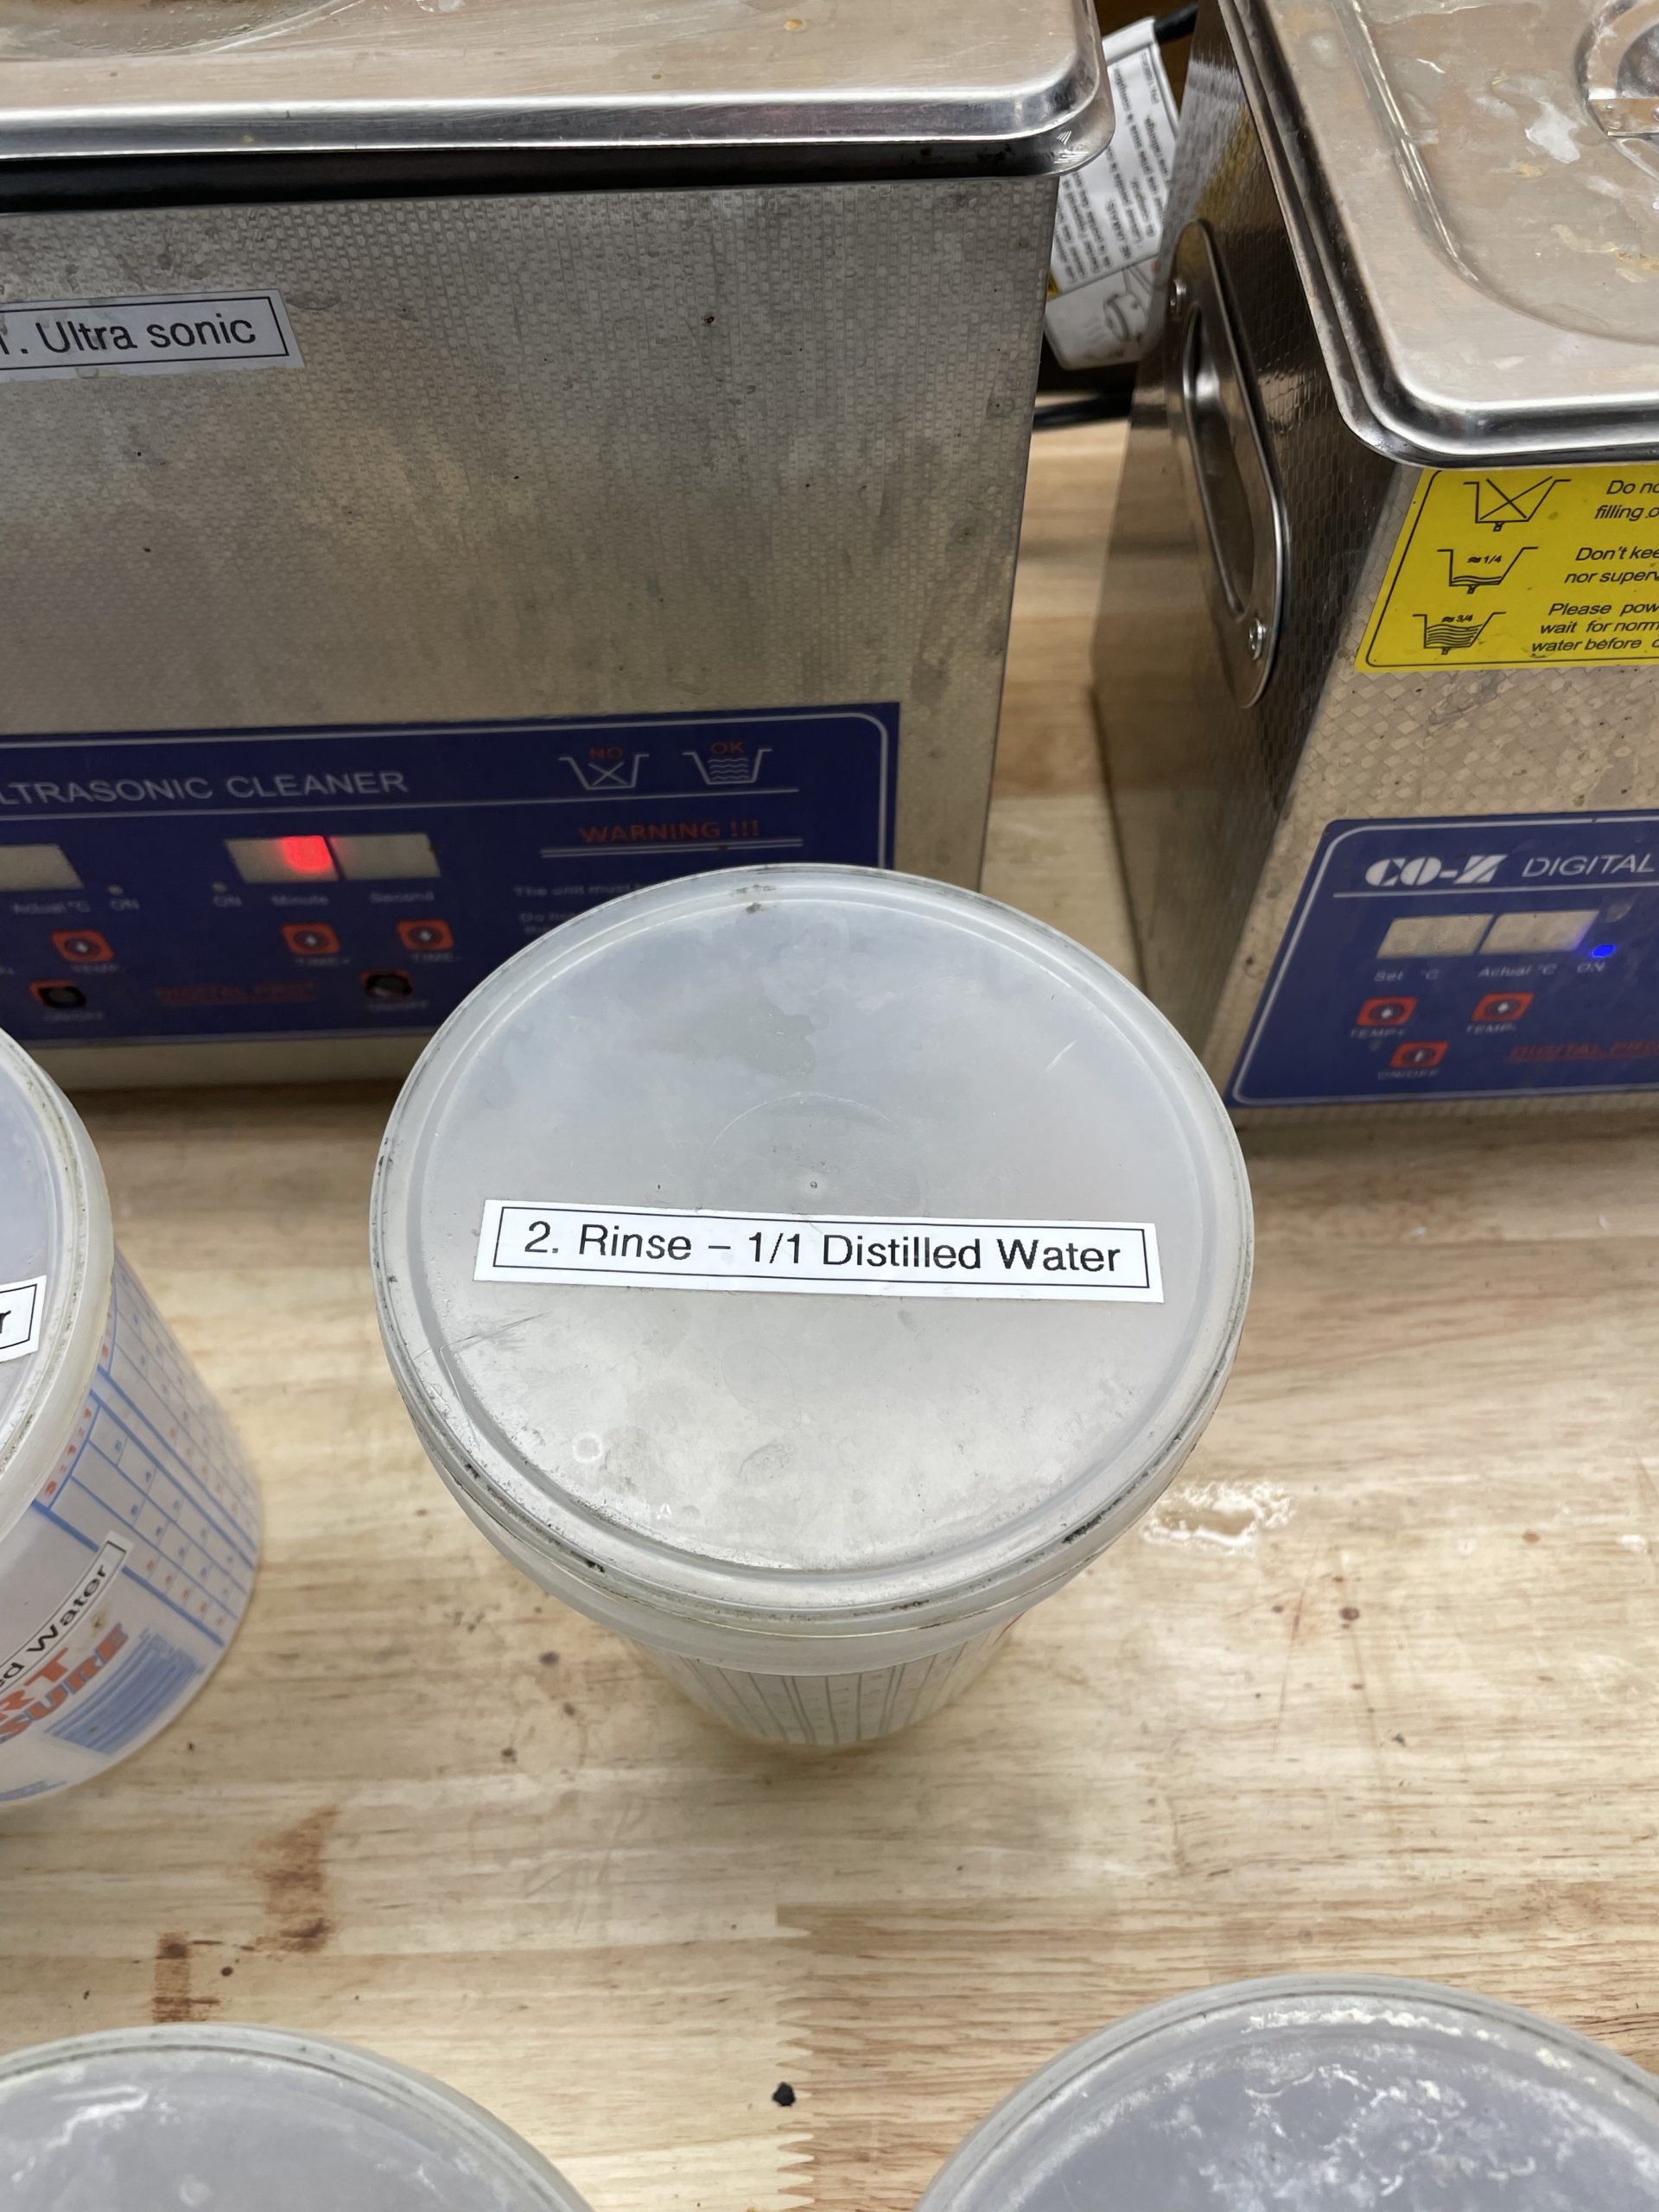
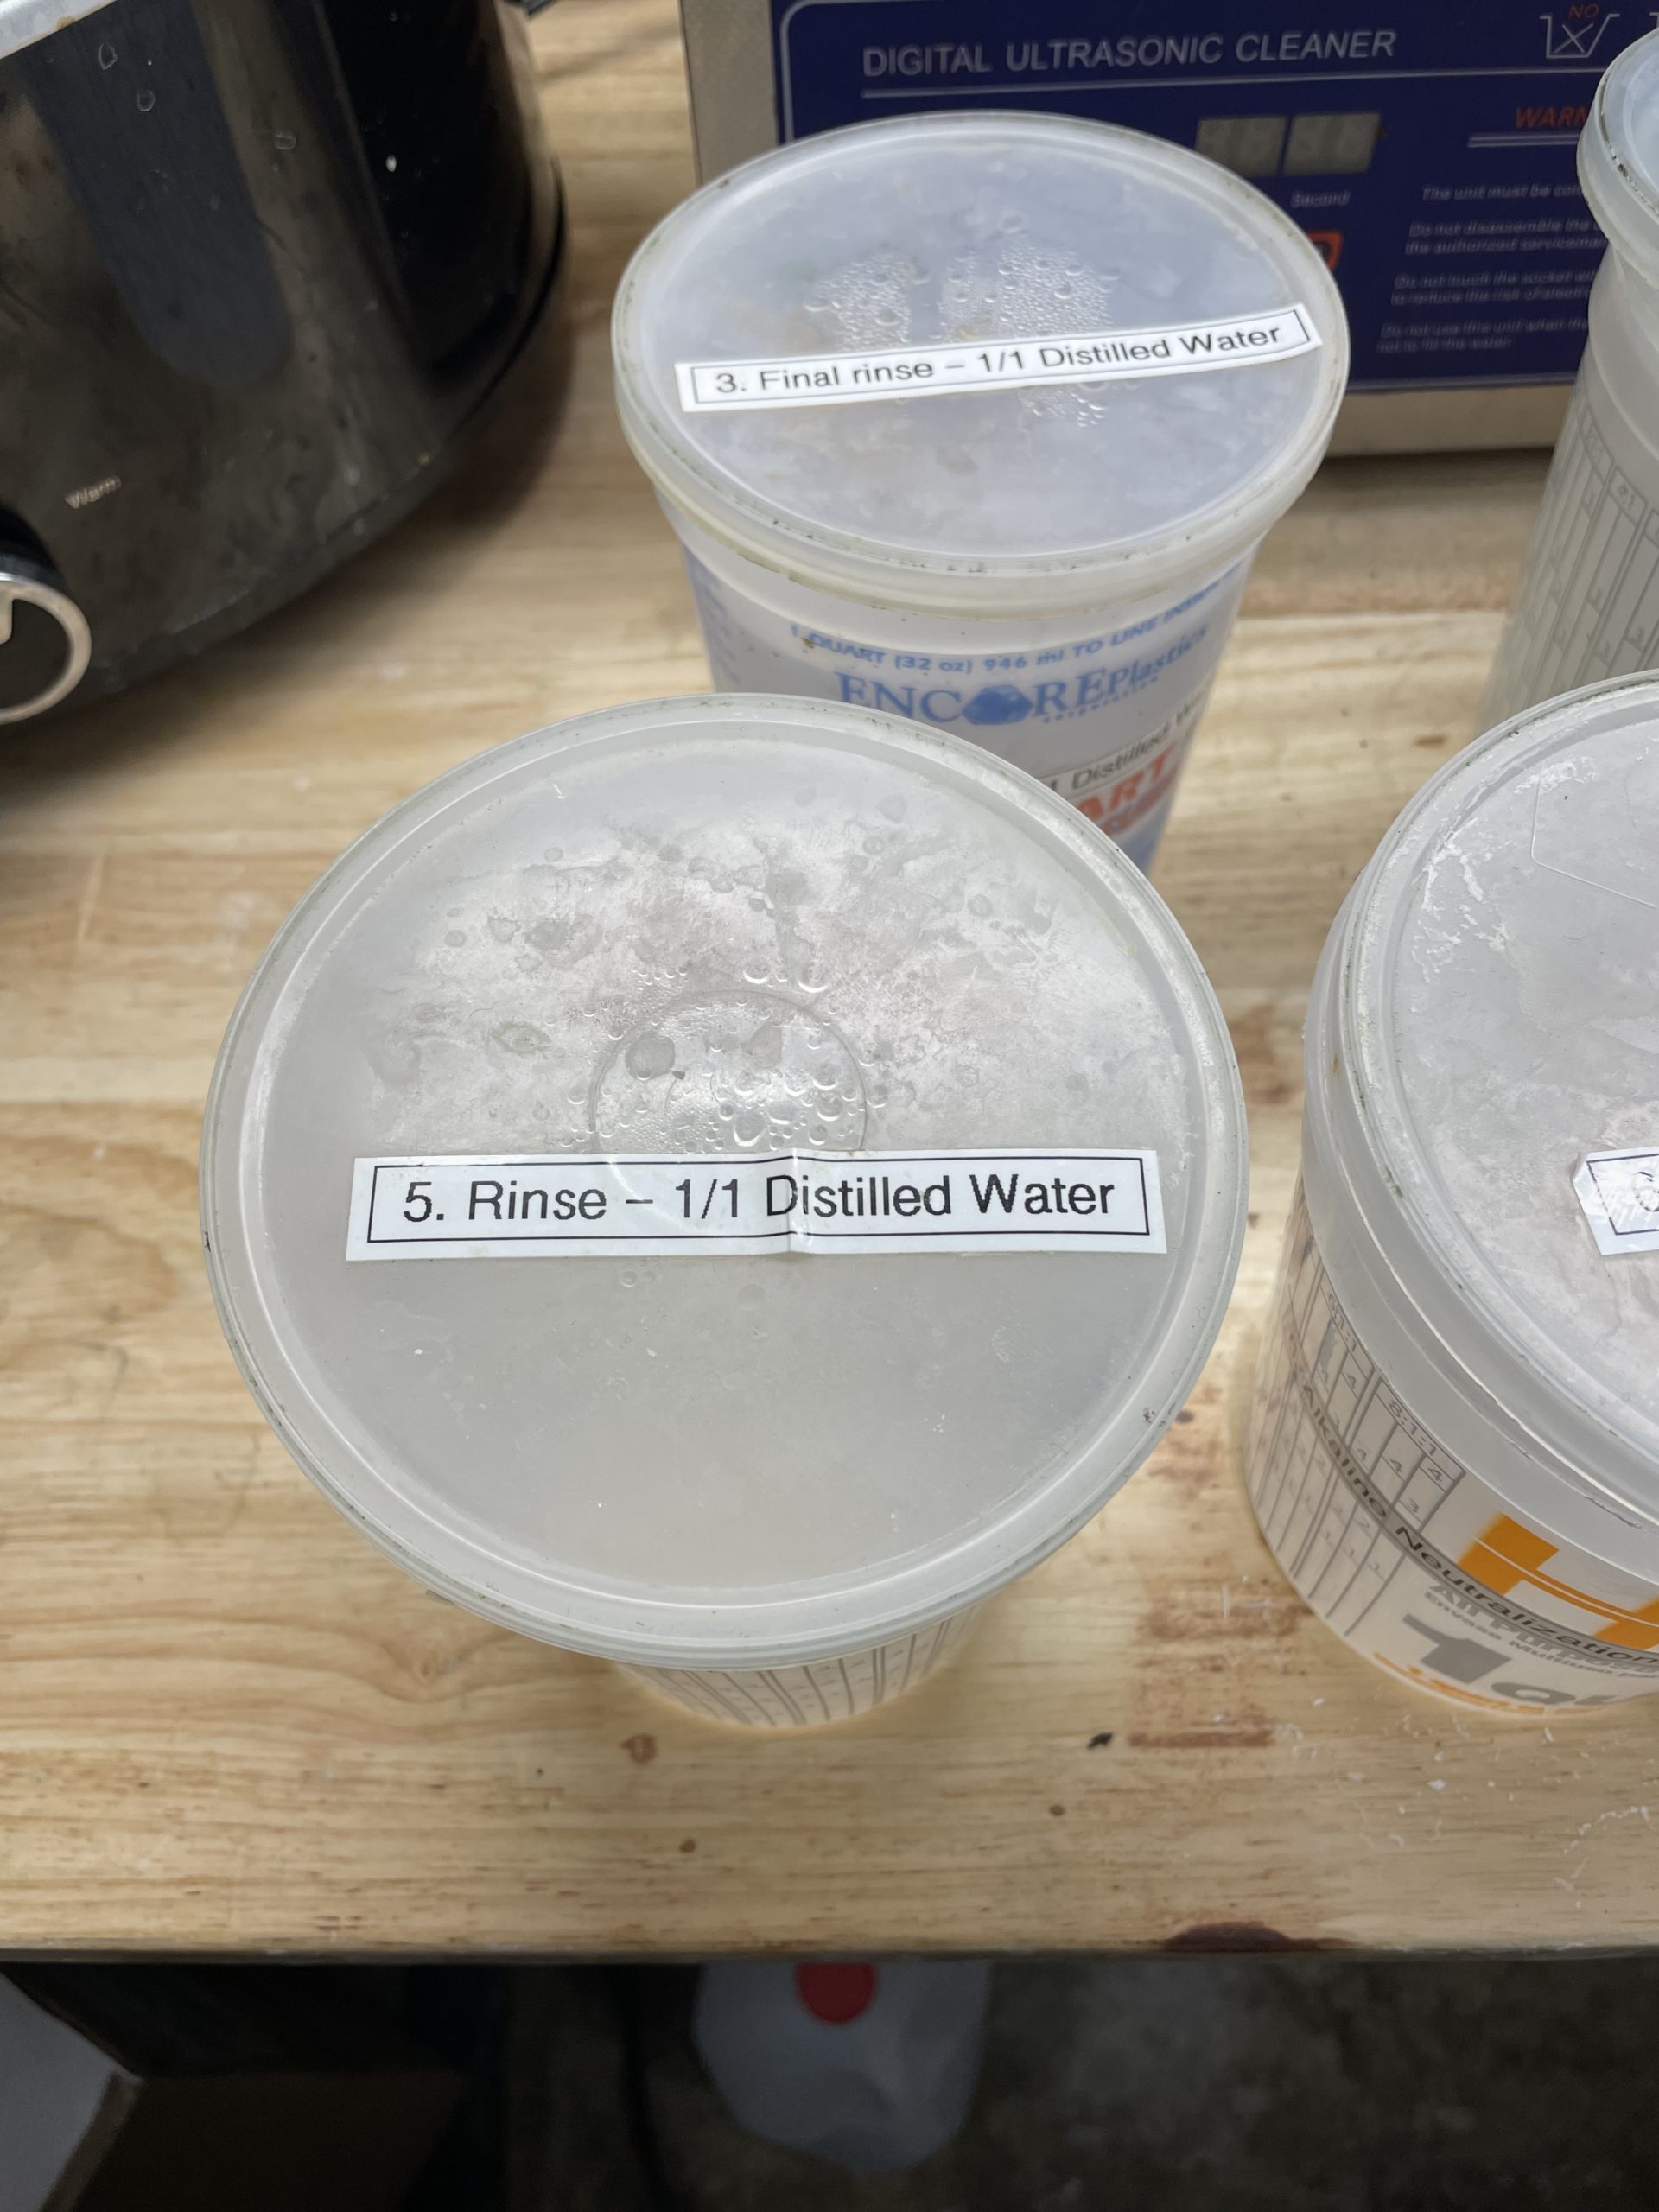
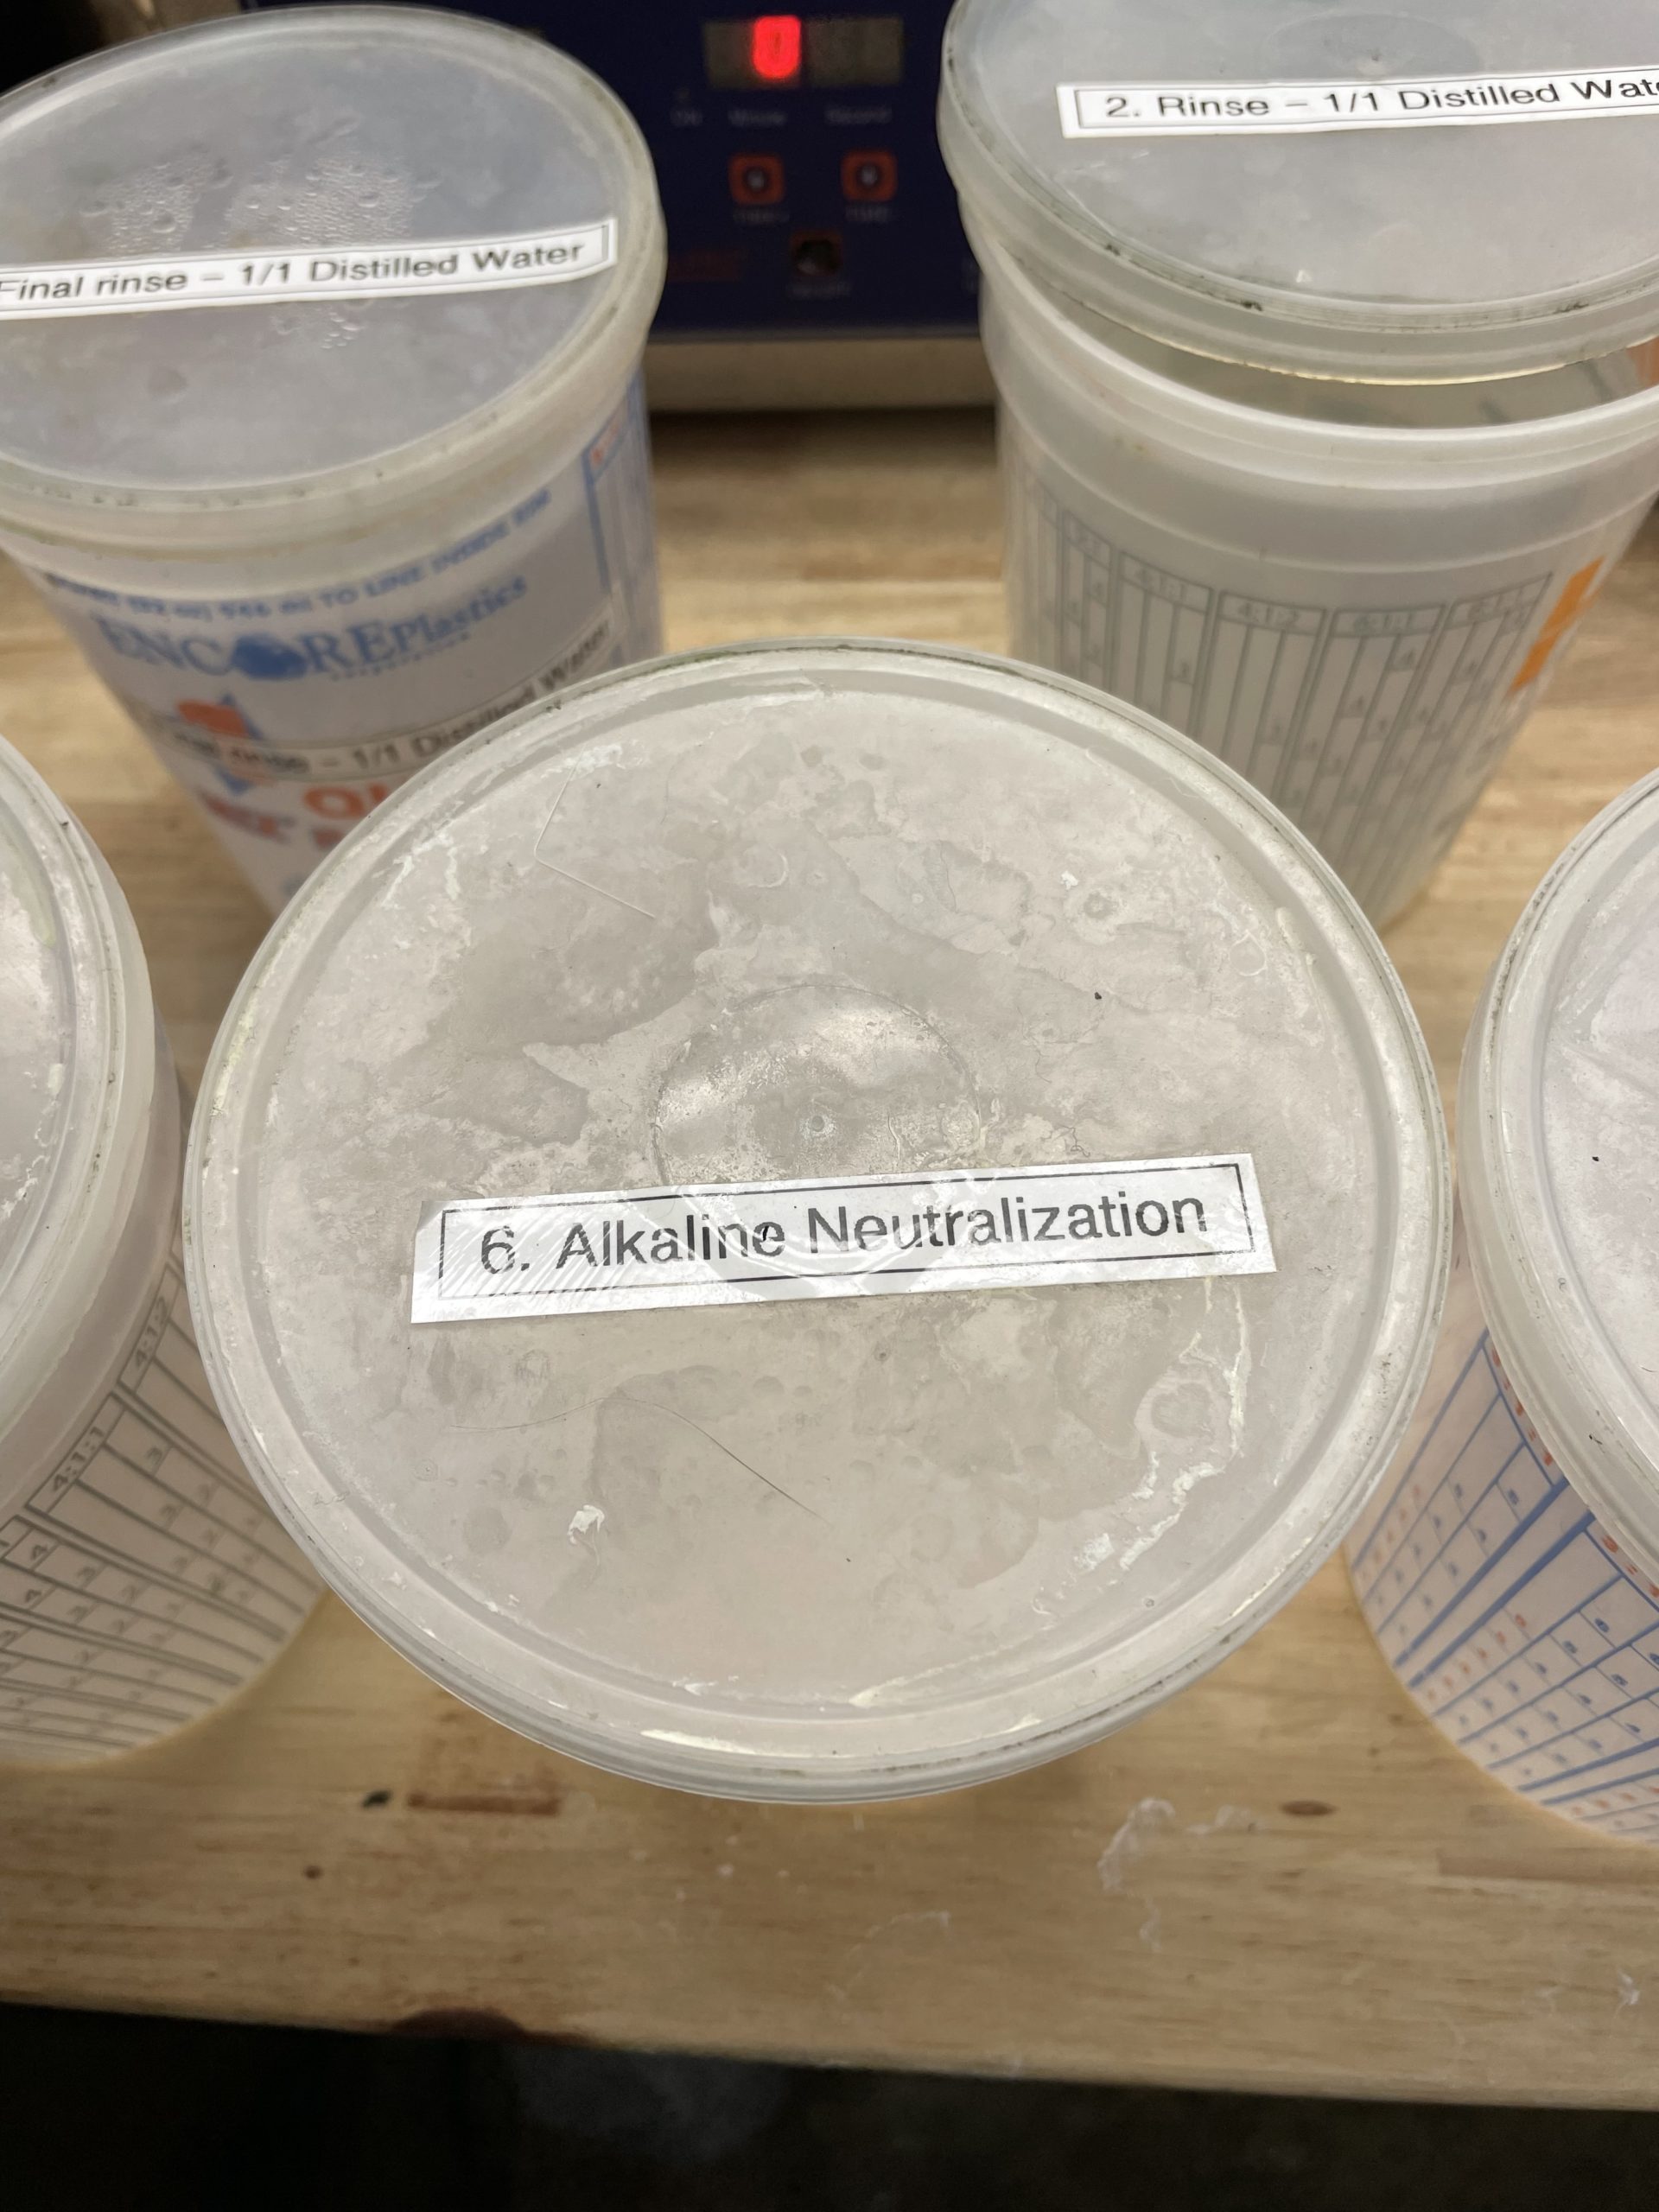
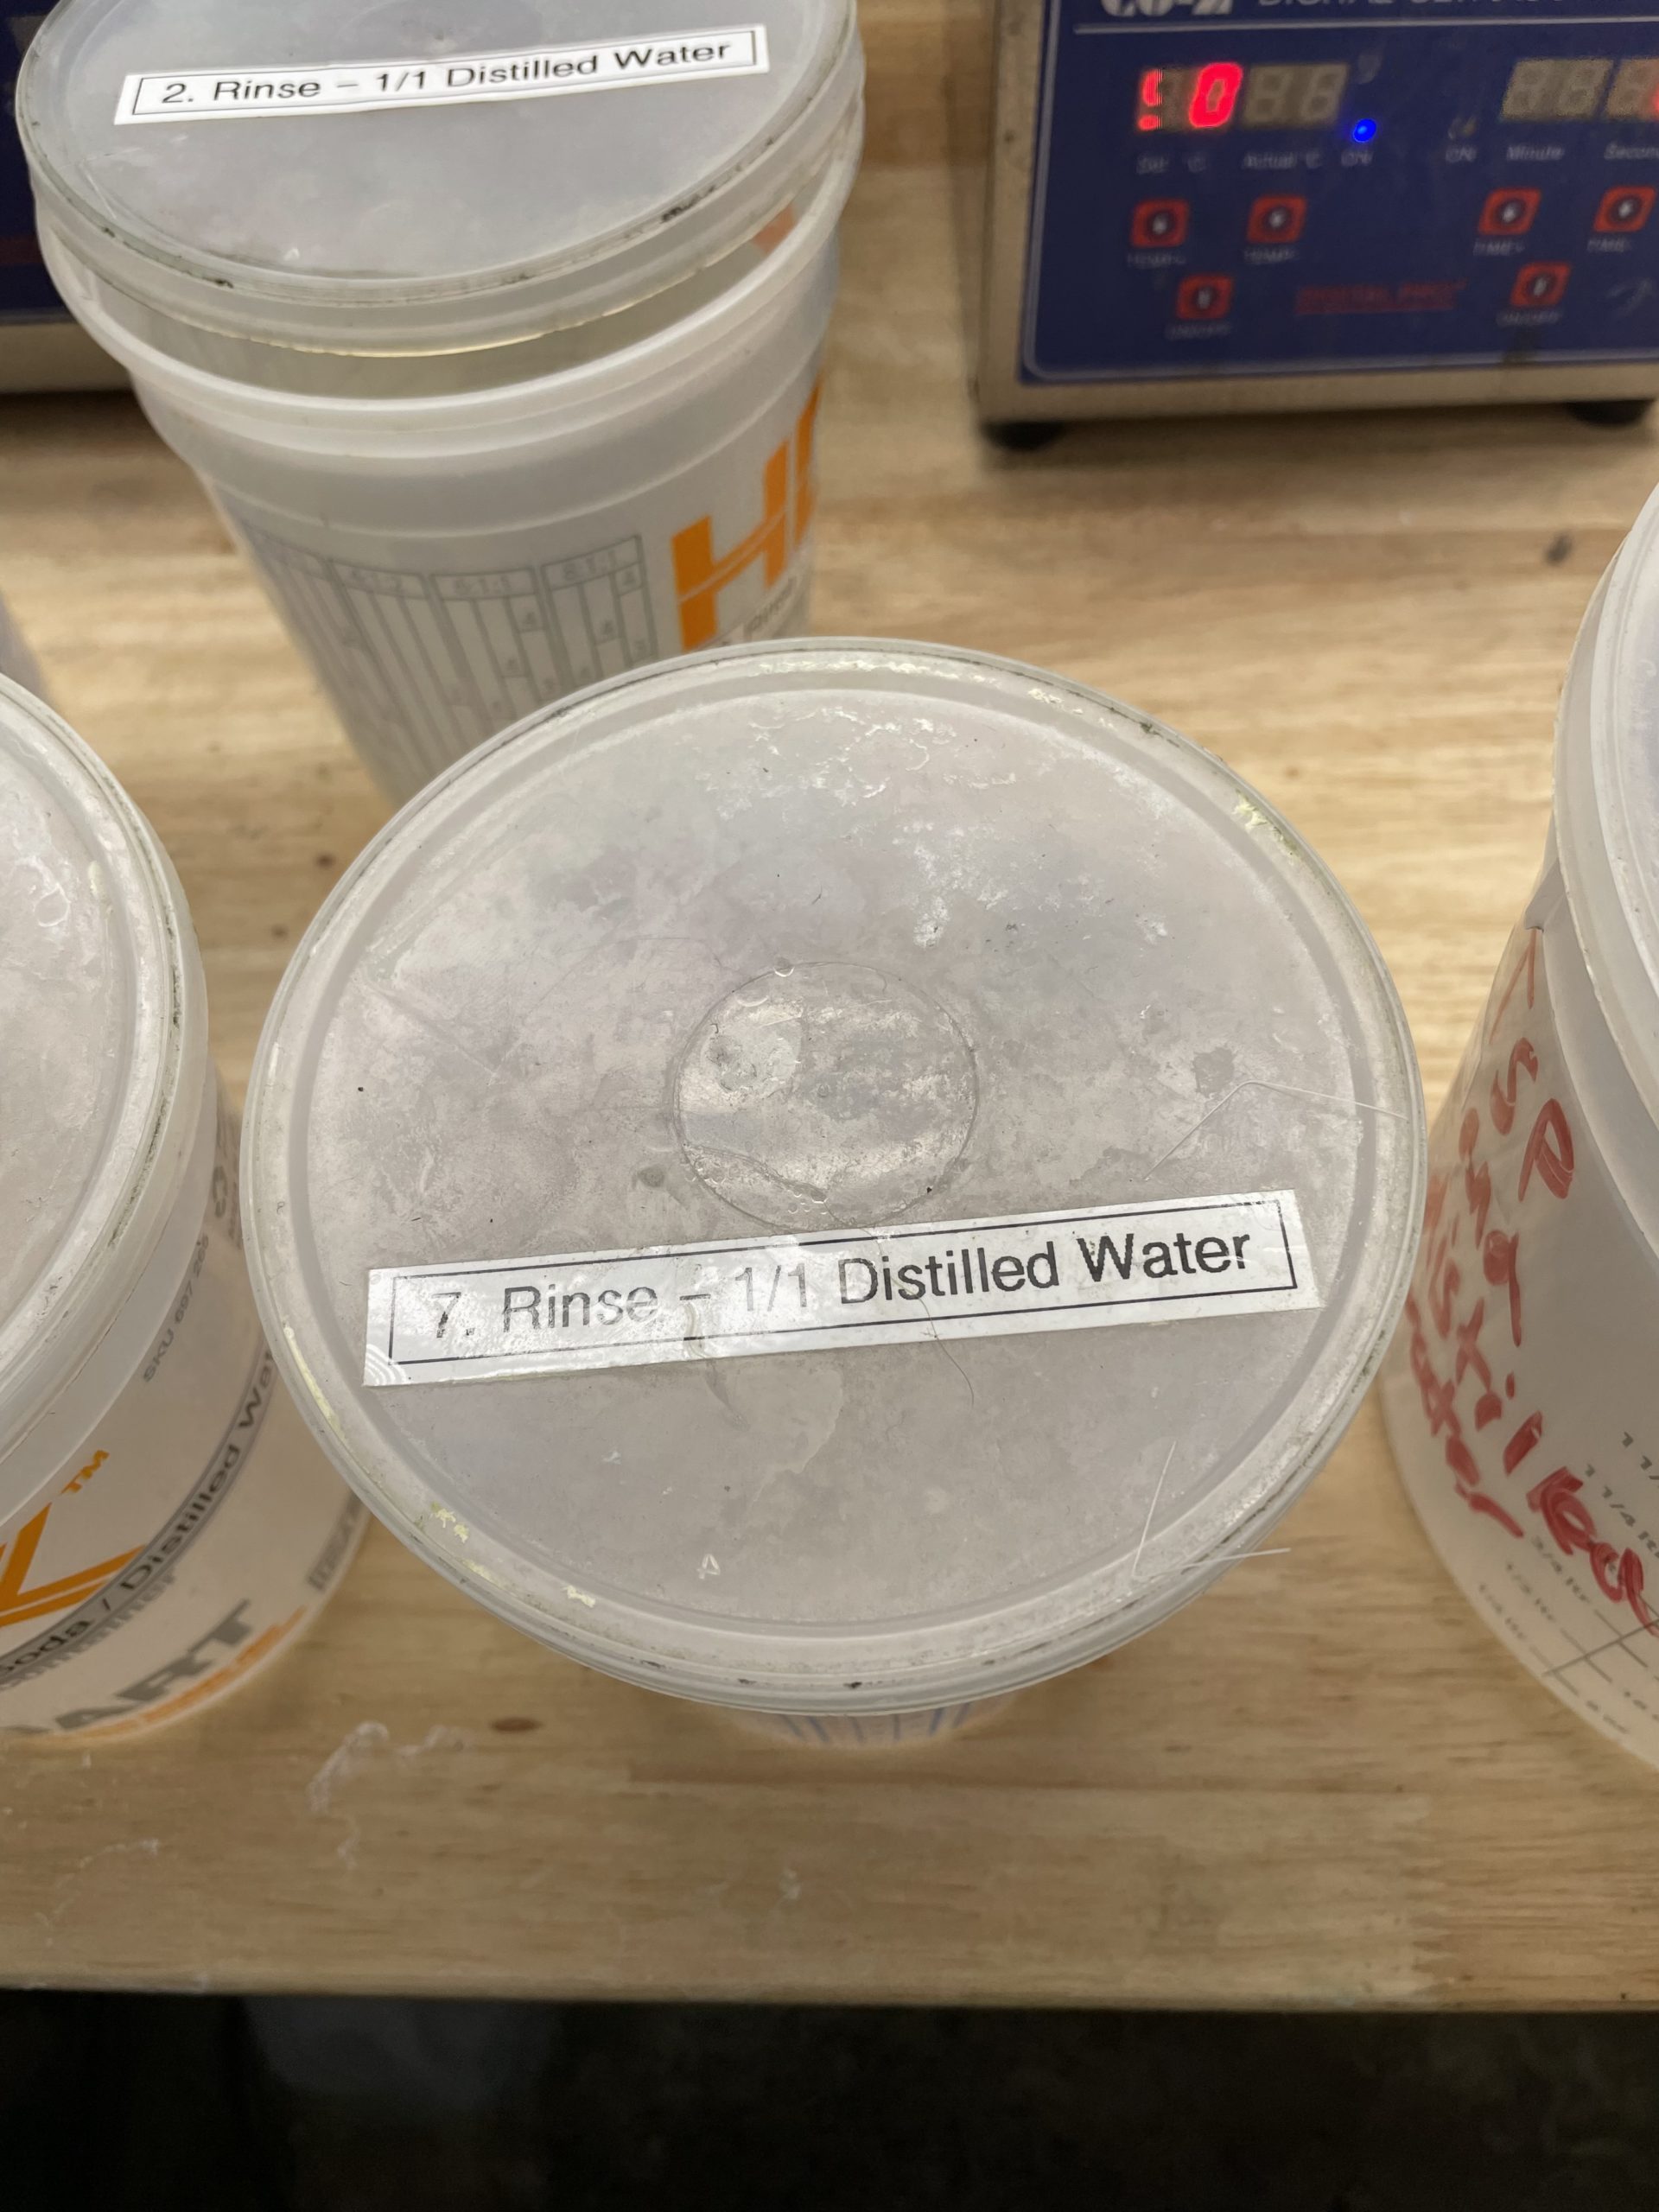
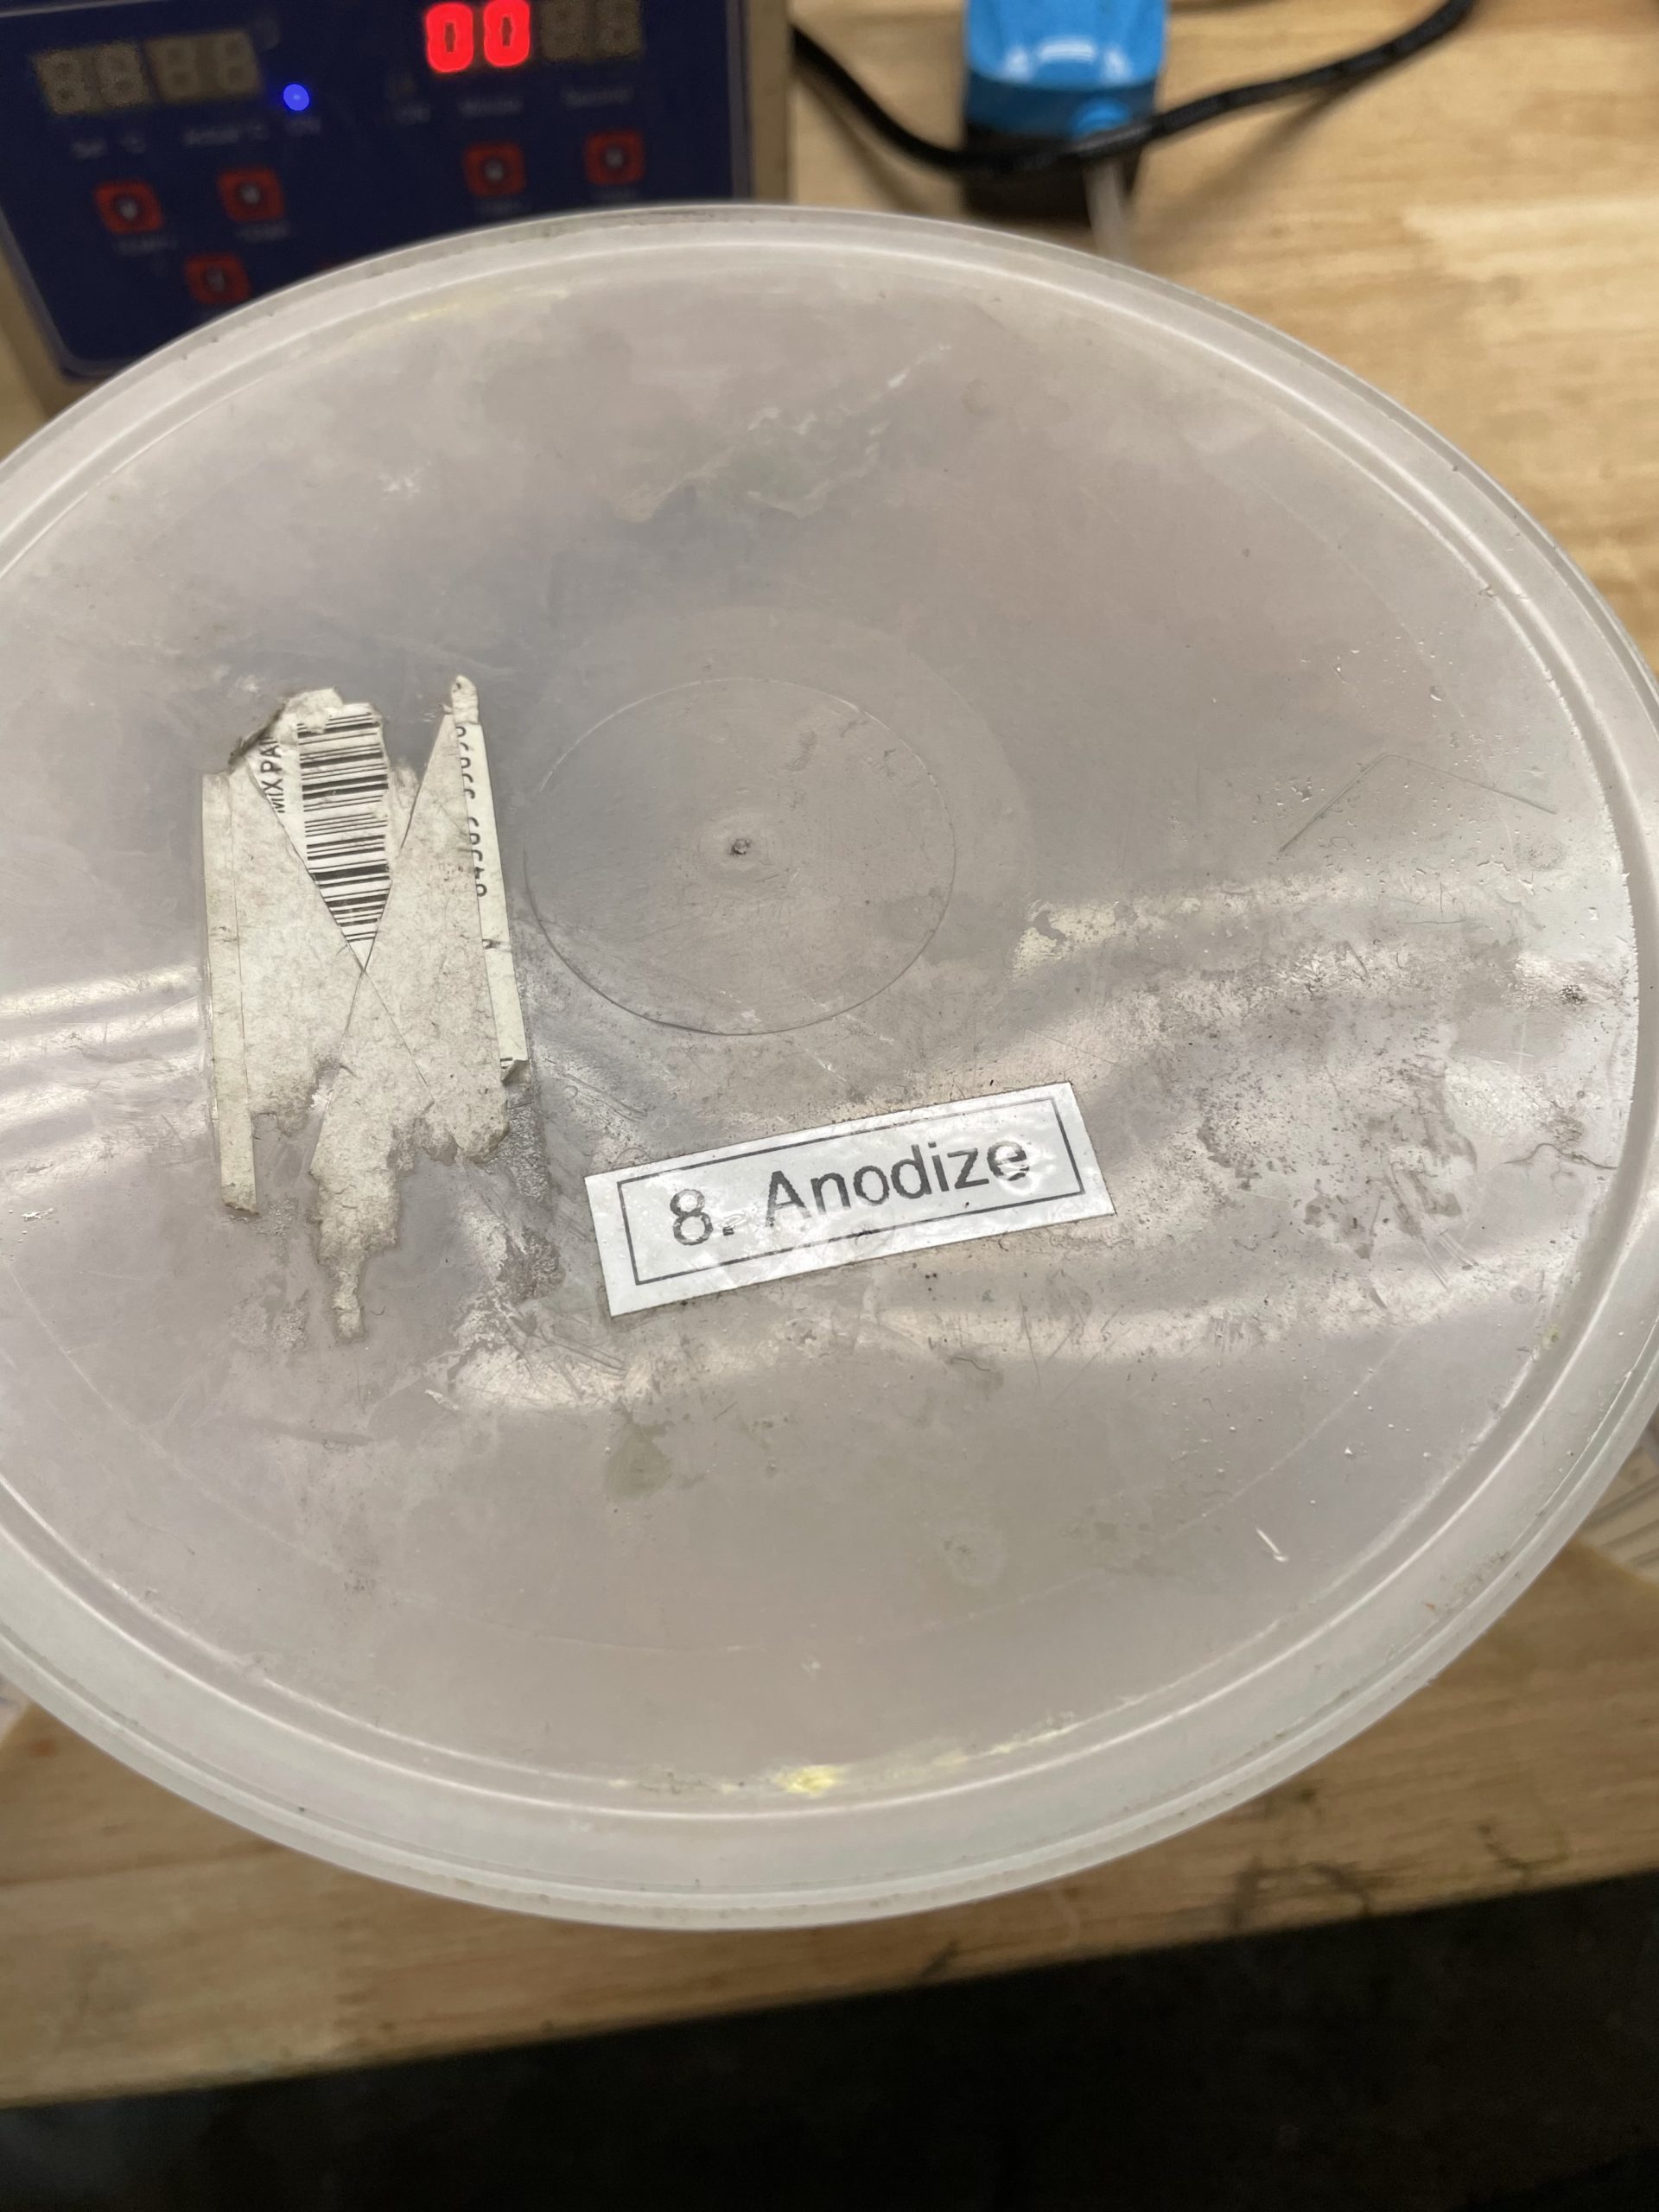
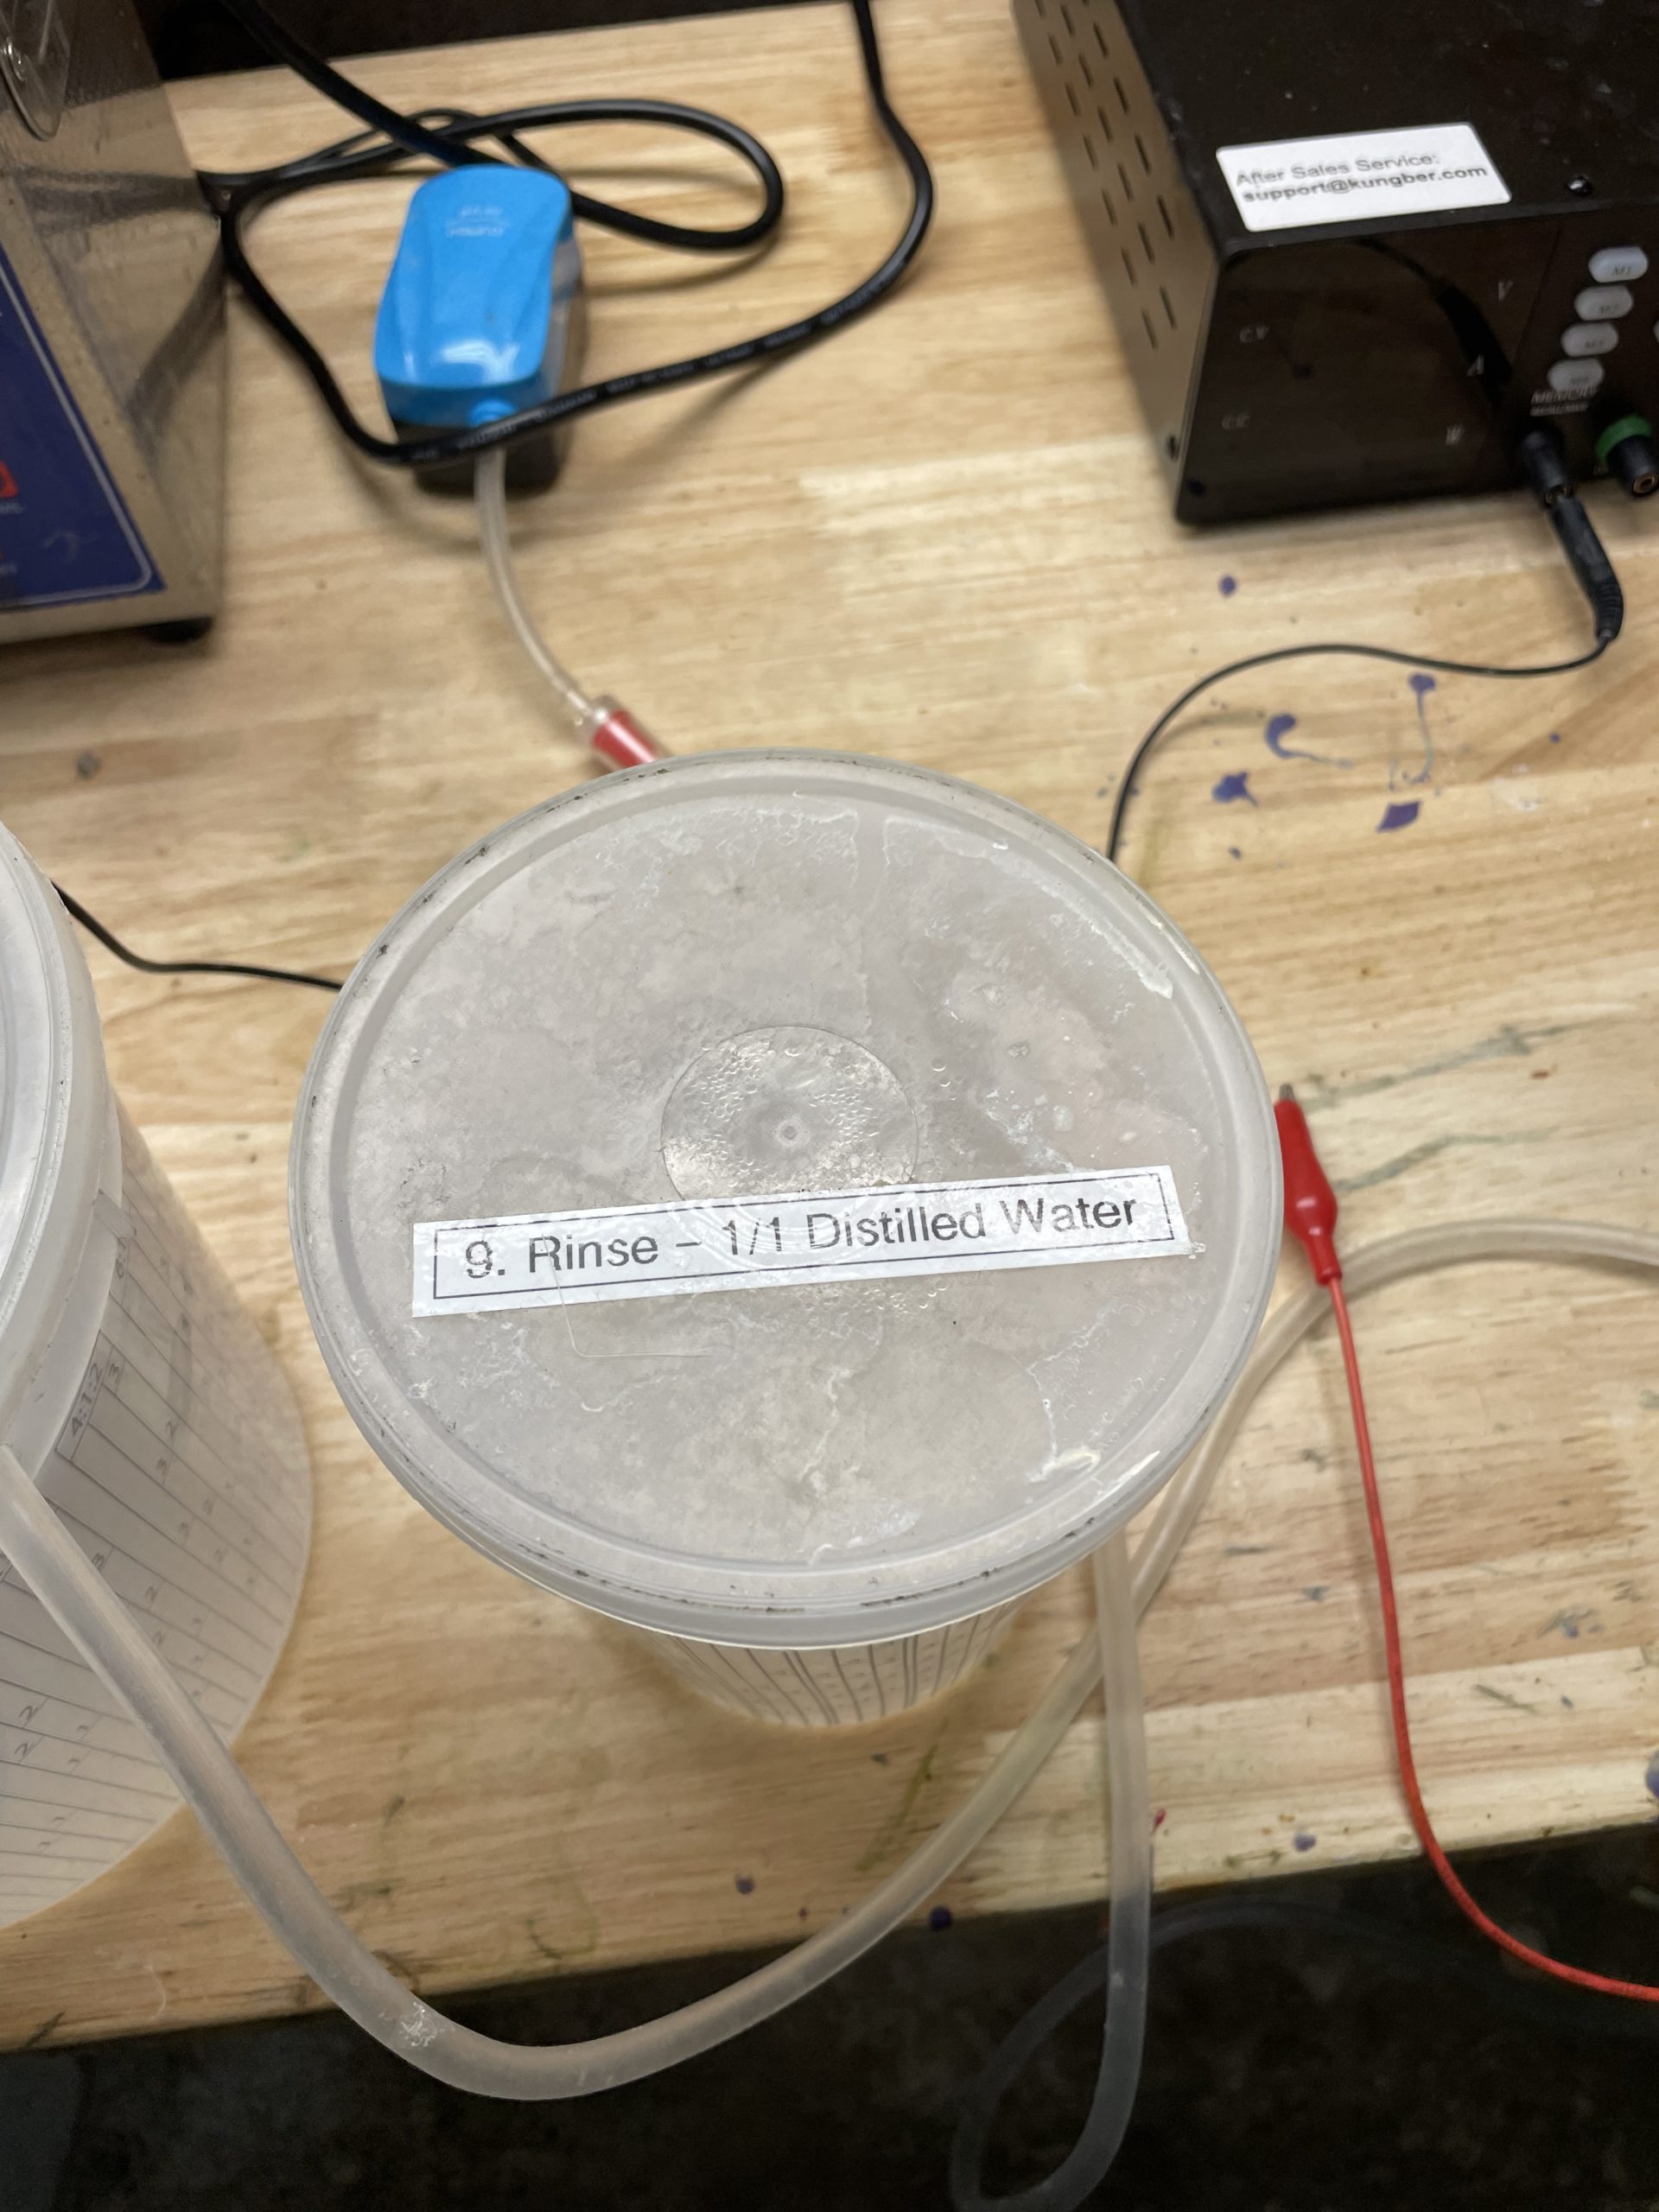
Take your containers and lay them out. We labeled ours based on step, and what was contained inside, but this is not required.

Containers

  1. Pre-rinse: 100% distilled water. This will be used to rinse our part directly after cleaning.
  2. Rinse before acid: 100% distilled water. This will be used to rinse our part of any contaminants that may have been picked up from the previous pre-rinse step. Having two rinse cycles increases the cleanliness of the rinse prior to the acid etch, and decreases the likely-hood of dragging any remaining cleaning agents into the acid etch.
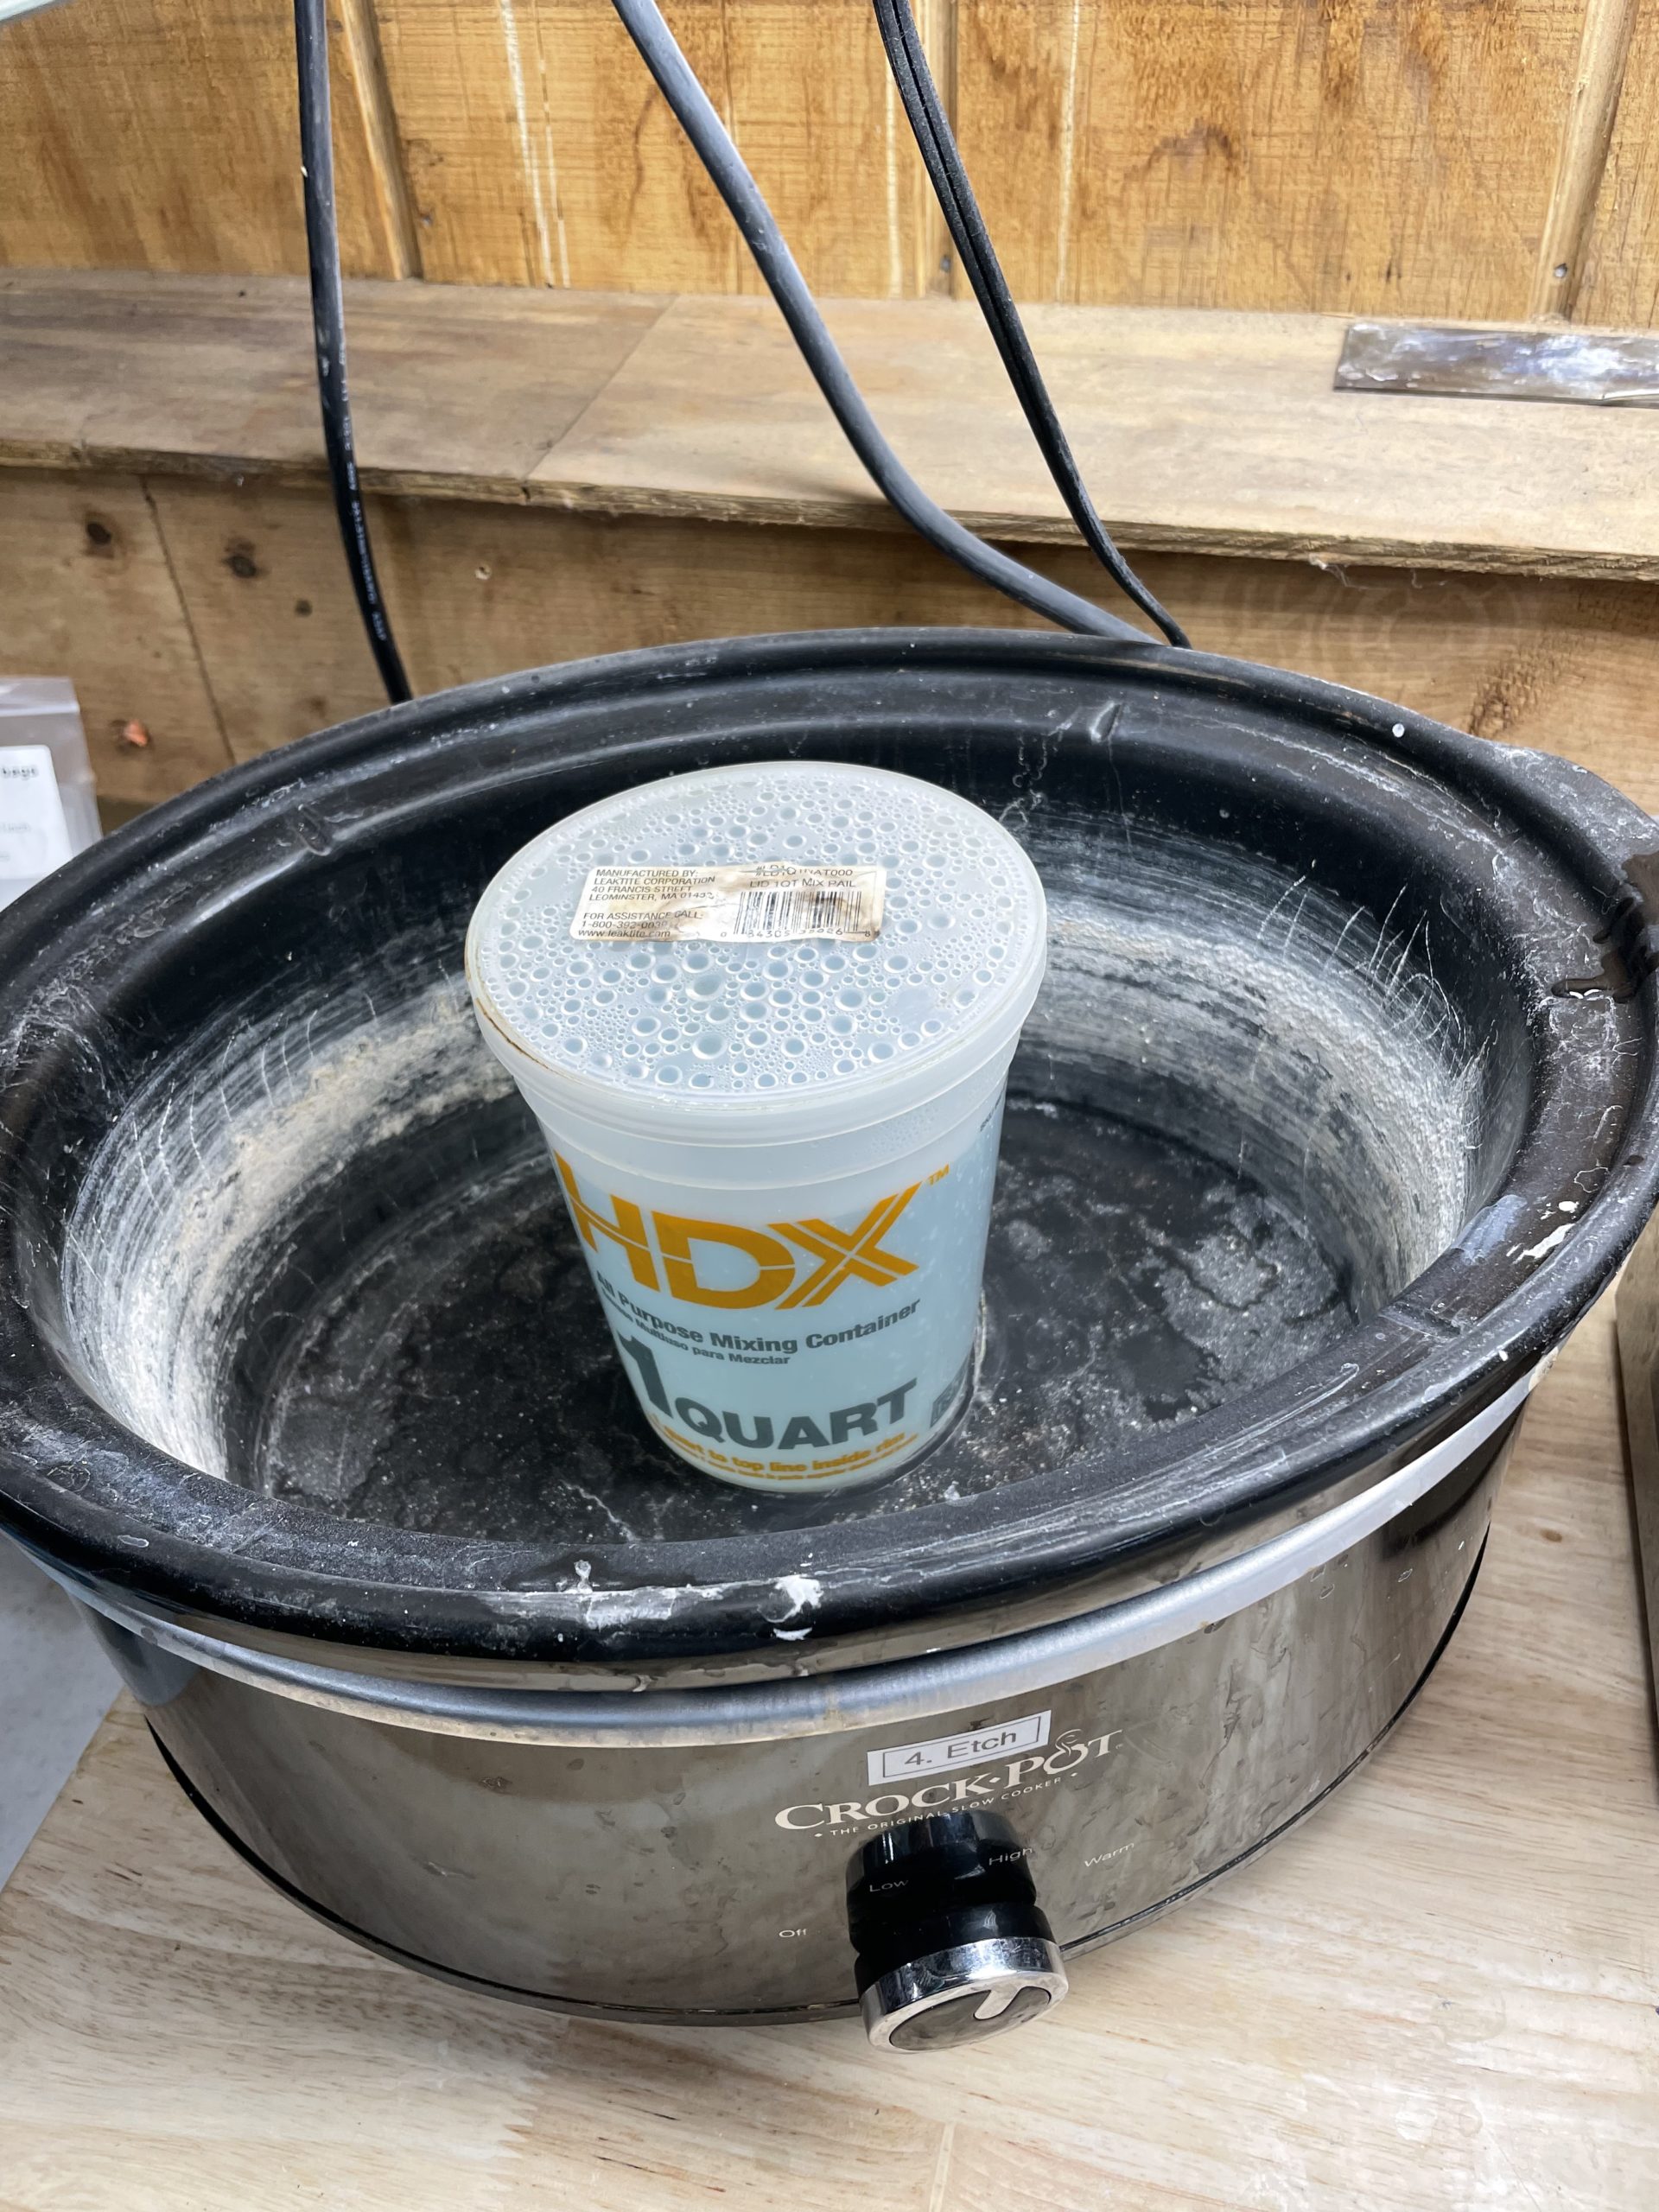
  3. Acid etch: Take your container of acid etch and place it inside your chosen heating setup. We are using a cheap Crock Pot from Walmart. We placed the container directly on the floor of the Crock Pot. You can fill the Crock Pot with water and use that to “double boil” the acid etch if you desire. Leave the lid on the acid, and leave the Crock pot lid on. Heat the acid etch to 60c (140°), or until small bubbles are visible.
  4. Post acid rinse: 100% distilled water. Used to pull the bulk of the acid off the part after etching.
  5. Alkaline neutralization: Distilled water and 15g (0.52oz) of baking soda (small handful).
  6. Final rinse before anodize: 100% distilled water.
  7. Anodizing Bath: 2L distilled water, 10g (0.35oz) TSP, titanium cathode submerged with mesh surrounding it so it cannot be accidentally bumped into, fish tank bubblier on, centered and submerged at the bottom of the container.
  8. Post rinse: 100% distilled water.

Power Supply

In our setup we use a power supply that is capable of supplying 1 – 120v.

Make sure the power is off. Attach a black alligator clipped lead to the power supplies negative output, then attach a red alligator clipped lead to the units positive output.

Take the black alligator clip and connect it to your titanium cathode that is now sitting in your anodizing bath. Power on the unit, and set the voltage to 0v.

Anodizing: Solid Color

In this section we will talk about the steps needed to clean, etch and anodize your part to the color blue.

Prepare Your Part

The surface finish of your part has a large effect on the vibrancy of the colors you get from anodizing. Etching your part will prep the part, but it will not change the overall surface finish. A blasted surface will have a different tone then a tumbled or polished part. The surface finish also changes at what voltage a color is seen on the part. 20v on a tumbled part might be 24v on a blasted part to get the same color.

Clean your part using an ultra sonic cleaner that is filled with distilled water and Simple Green. Make sure to keep the water level of the ultra sonic high.

If you don’t have an ultra sonic, or don’t have time to wait on it to clean, submerge, or spray your part with concentrated Simple Green and gently clean your part with a soft bristle toothbrush. We have found that Simple Green resulted in consistent anodized finishes, is safe to handle, and readily available.

After your part has been cleaned, take some titanium wire and hang your part on it.

  1. Pre-Rinse: With your clean part attached to some titanium wire, submerge in your part in the first rinse container and gently swirl it around for 5 – 10 seconds.
  2. Rinse before acid: Submerge the part in your second rinse container and gently swirl it around for 5 -10 seconds.
  3. Acid etch: Submerge your part in heated acid etch for 8 – 12 seconds. If your part doesn’t appear to be doing anything, the acid etch is probably not hot enough. Leave the part in longer, or remove the part and heat the acid till small bubbles appear.
  4. Post acid rinse: Submerge your part in the after acid rinse container. Gently swirl for 5 – 10 seconds.
  5. Alkaline neutralization: Submerge your part and swirl gently for 5-10 seconds. 
  6. Final rinse before anodize: In the last rinse before anodize, submerge and gently swirl your part for 5-10 seconds.
  7. Anodizing bath: If your power supply is on, make sure it shows a voltage of zero. Attached your negative lead to your cathode (piece of titanium submerged in the container) if you haven’t already done so. Then attach your positive lead to your titanium wire. Submerge your part into the bath making sure that the positive lead is not touching the water. Only the titanium wire and your part should be touching.
    • Keeping your part submerged, slowly turn your power supply voltage up to 24v. Observe how the water around your part reacts. You should see very small bubbles appear near your part. Also observe the readout on the power supply. As the part is anodized up to your target voltage the amperage can be shown as high, but once the part reaches your set voltage you’ll notice the amps start to drop. We will wait for the amp draw to plateau and then pull our part.
  8. Post rinse: Submerge and gently swirl your part for 5-10 seconds.

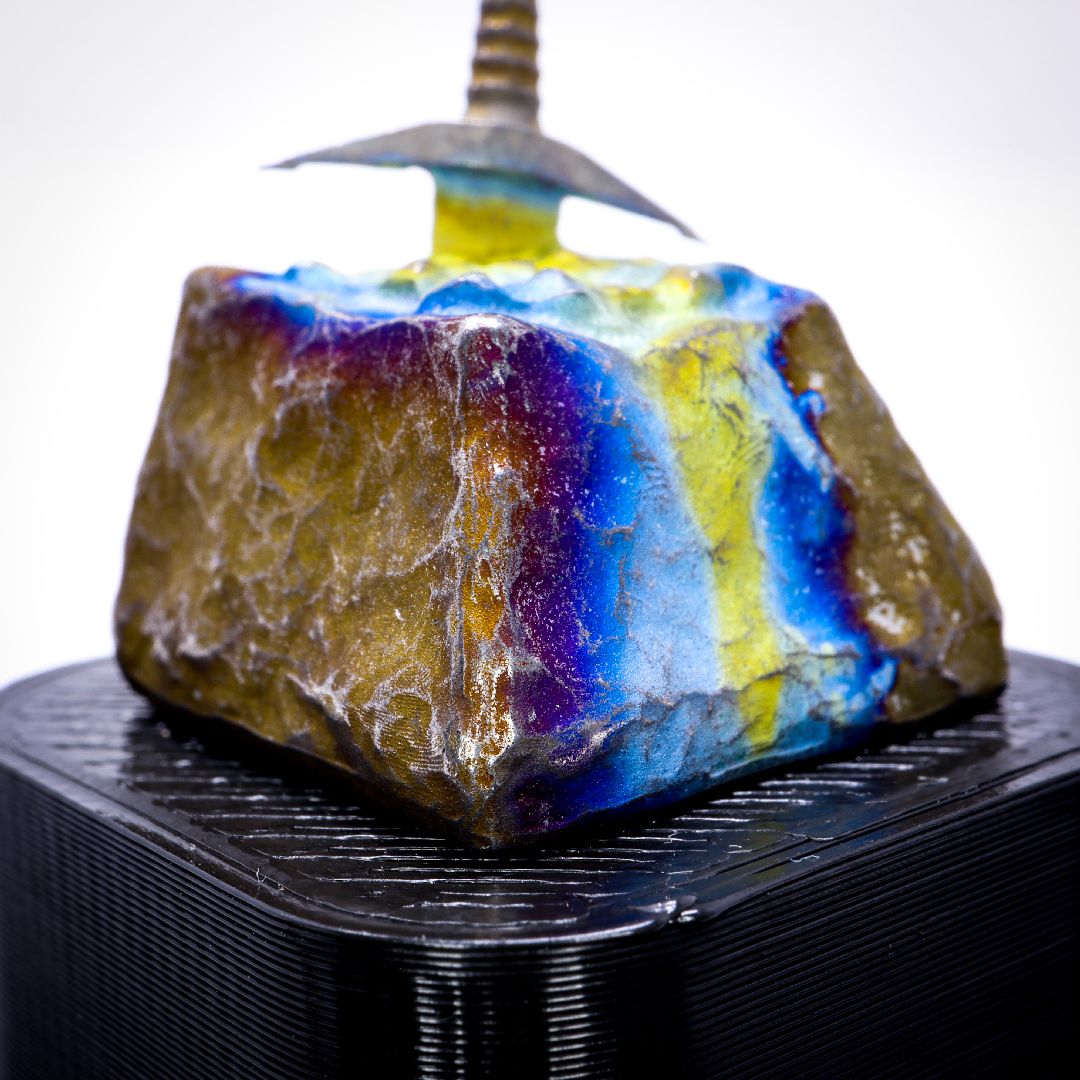
Your part is now anodized. Take note of the different colors that are shown on the part surface. When your part is wet it may show colors as matte or dull. When the part is fully dry it will show colors as more bright.

When anodizing you should be aiming for what the part looks like when dry. Another thing to keep in mind is what happens when the part is handled. When you get the oils from your fingers on the part, the colors will have a tendency to dull. This can be restored with some water and a small amount of dish soap.

Is Etching Worth Your Time?

Etching your titanium before anodizing will better prepare the surface of your titanium for anodizing. Using an etch will increase the potential vibrancy and the voltage you can anodize your titanium to. We etch all our titanium before anodizing, and it’s how we are able to consistently hit high voltage colors, like green.

Example of some titanium parts we etched before anodizing

Gather The Parts

We use a 1L mix for our in house anodizing. If you need a larger batch, you can double or triple our provided formula. We store the etch inside a 1L polypropylene (marked PP on the bottom of the container) mixing cup , that is sitting inside a crock pot. We’ll use the crock pot to heat the acid without having to directly interact with the acid.

Precautions And Safety

  • Rubber gloves
  • Safety goggles
  • Fume hood, or respirator capable of blocking vapors
  • If splashed on skin rinse off with regular water
  • Do not store acid in glass or metal containers, plastic only
  • Add acid to water. Never water into acid. This will reduce the chance of splashing acid.

Things You'll Need

  • Suitable container for the acid. We recommend something with a lid – Here is one of many examples. You can acquire suitable containers at your local hardware store as well. You can also store the acid inside a jug for long term storage. Here is an example.
  • Crock pot or some other way to heat the acid if you plan on using the acid hot. We recommend using it hot. Here
  • A scale designed for small measurements. Here is the one we use.

Ingredients You'll Need For: 1L (1.056qt)

  1. 114g (4.02oz) of APS (Ammonium Persulfate) – Here
  2. 21g (0.74oz) of NaF (Sodium Fluoride) – Here
  3. 1L (33.81oz) of distilled water – Here, or can be acquired at a local supermarket. Walmart typically has some.

Mix Instructions

  1. Add 1L of distilled water to a suitable container with a lid. This can be a jug or the container you’ll use for etching.
  2. Weigh out 114g of APS, and 21g of NaF, then add to the distilled water.
  3. Close container with lid or cap and shake vigorously, then leave overnight. If you plan on using it sooner, shake it again right before use.
  4. Here, or can be acquired at a local supermarket. Walmart typically has some.

In Use

  1. Place a suitable wide mouth container inside your crock pot. Unless the acid is already stored inside one.
  2. Heat the acid to 130 – 150ºF or until you see small bubbles.
  3. Swirl your titanium parts in the acid for 8 – 12 seconds. You should see the part react with the acid pretty fast. If nothing happens, the acid is to cold and you will need to leave your part in longer.
  4. Remove your part from acid and rinse in distilled water. We use a separate container and we will submerge our freshly etched parts in it.
  5. Anodize your part immediately or store in some distilled water so the part does not reform its natural oxide layer.

Overview

I designed and made some EDC Keychain Tweezers. I was pretty happy with them, and I sold quite a few to some of my Instagram followers @split141. After the sales from Instagram started to taper off, I looked towards other avenues to generate sales. I was in a unique situation. As someone who was designing, manufacturing, and fulfilling the product, I had a lot of control over how I wanted to handle getting the tweezers into more hands.

As someone new to running Kickstarters, my first successful one was not without its pitfalls. In this article I’ll talk about some of the key things I learned from running a Kickstarter for ‘Titanium EDC Mini Tweezers’.

Why did I Kickstart my product?

So why would you Kickstart a product instead of marketing and selling through regular sales channels? Typically people will Kickstart a product or service to acquire funding so they can bring the product to market. Seeing as my product already existed and didn’t need any startup capital, my specific reasoning for Kickstarting the tweezers was exposure.

I had a problem. I had a good product, but with such little exposure to the general buying population, they were proving hard to make any real money on. Exposure is the only way to sell products. At least in the tweezers case. The tweezers are a good product. I might be little biased, but I believe they do exactly what the are marketed to do, look good, and are not expensive (This statement I have found is little subjective). If no one knows the product exists no one is going to buy them, plain and simple.

Kickstarter is an amazing way to gain exposure, followers, email lists, and loyal customers for really not much. Kickstarter’s fees were extremely reasonable at 5% from the entire funded amount, and the amount of work I had to do to setup the campaign took one solid day. I didn’t hire anyone to work on any of it, so you can do this on the cheap. I just tossed up what I was selling and what I was trying to get for them. Though you should have more a of solid plan then I did.

Running the Kickstarter

I actually didn’t think the tweezers were going to get funded. So I went with an extremely conservative funding goal of $1500 in 45 days. If I did it again I would of stuck under 30 days.

The campaign ended up getting funded in less then 2 days, which came as sort of a shock to me. By the end of the 45 days the campaign had raised a little over $19,000! I personally have never seen that amount of cash come out of something that I made, so you could say I was pretty excited. I was mostly excited because the funding had proven that this was a viable product. Smart people do market research and see if something is viable. Not me. I do all the hard work up front, and face disappointment on the back end. Since this ended up being funded, I was quite pleased.

Running the actual campaign it self was pretty easy. I would post on Instagram about it daily, which acted as a funnel and helped the campaign grow. I was very surprised at how much of the funding came out of Kickstarters search function itself. In fact, my social media work accounted for less then half of all the backers. Keep in mind, I don’t have a huge following on Instagram. Under 1,500 followers as of this writing. It was likely around 1,100 follows at the start of the Kickstarter.

The 5 Lessons I Learned

5. Packaging

Packaging is not something that is forgotten about, but it is almost never prioritized. My plan was to use front ear fold boxes, and then use a cardboard insert that would of held the tweezers and their cap in place in the center of the box. With the sticker and keyring going under the insert. I never got to the inserts because of 3rd party lead times and cost. The lead times from every custom packaging place I talked to was 3 weeks, which actually was enough time, but I didn’t know that at the time. Almost everyone had a min order quantity of 500, which I also wasn’t going to go for. Again, this was actually not enough but I didn’t know that.

I ended up wrapping the rewards in expanded recycle paper, and placing them inside the front ear fold boxes on top of shredded paper. Which in reality, worked just well enough. I’m still not happy with how the packaging is, but its Eco friendly and I don’t have to pass any costs of to the consumer.

Lesson learned: Figure out your packaging before you have to fill rewards. Get your packaging ready to go a month before you have to ship rewards.

4. Timelines

Be realistic about timelines. I thought I would be done by September 31st, and I was not done till Nov 1st. A day late vs the max set deadline of Oct 31st. Take your worst case scenario deadline, then add 30 days. Backers on Kickstarter are accustomed to waiting months for their rewards. I don’t mean abuse trust, but backers understand it takes a long time to go from nothing to Kickstarter finished. I had a lot of unforeseen things happen. Mostly with equipment breaking.

Lesson learned: Always add extra time to your campaign deadline.

3. Product Flow

This point is a little unique to my situation. Seeing as I was the person making while also filling orders I needed to come up with a realistic way to produce 480+ tweezers within 3 months. That alone would of been fine on its own, but the majority of the rewards had customized options.

I ended up producing tweezers on the mill, producing tweezer caps on the lathe, de-burring them, and then storing them in their “de-burred” state. When I needed to fill rewards, I would check the reward, grab a tweezer/cap, customize it, build the packaging, print the label, and then mark the order as complete. This works fantastic for keeping inventory costs low, but unfortunately sucks for speed. Even just the walking between stations probably took me multiple hours over the course of 3 months. A better way to handle it would of been to batch orders, and have all the boxes already created and ready to fill. I did accomplish some of that, but with the way I was tracking orders it became an absolute mess trying to track batches. I ended up going back and forth between two processes and suffered in time because of it.

Lesson learned: Figure out a process flow and stick to it. Optimizing it as you go, instead of switching or all out abandoning it.

2. Keep It Simple

Limit choices and make sure your rewards are set in stone when you start. When you are figuring out your campaign, try to cook up a solid middle of the road reward that an average backer would enjoy. The issue I ran into was 2 fold. Someone would ask for an option that wasn’t listed. I would go “Oh sure I can do that”. Well that meant I then had to then support that option, and track it. Which proved to be the real reason the Kickstarter did not go as smoothly as I would of liked.

Another KISS principle I blew out of the water was changing the design of the tweezers half way through the Kickstarter. When I am unhappy with something, I usually throw it out and start again. The tweezers were good at the start of the Kickstarter, but in my head they were still not perfect (nothing ever gets there FYI). So I ended up redesigning both the fixture, and the design of the tweezers themselves. The new tweezers were a huge improvement over the old. The issue was I had all this “old” inventory of tweezers that I was no longer happy with. So I had to remake the entire stock of tweezers, which added to time, cost, and mental fatigue.

Lessons learned: KISS. Start with a product you’re happy with and see it to the end. For rewards, keep them simple. Don’t go chasing around the few backers who want green, or pink as a primary color.  Finally, I wouldn’t recommend over 5 reward options.

1. Data Is Everything

Turns out that being able to track rewards is kind of important. When I started the Kickstarter I started with 4 rewards. That spilled into 18 reward options. When you finally reach the end of the campaign, you get the ability to send all your backers a backer survey. The backer survey is your one opportunity to get data from backers in mass. It’s not exactly a flexible thing. If your backer needs to change his/her address because its been 2 months since you locked their ability to, then they need to message you directly. Guess what happens then? You have to track everything single individual request. Well how are you tracking these things? When 60 people message you with all different requests how do you keep track of that? Well it’s very difficult, as I found out.

When you’re ready to fulfill orders, Kickstarter packages all the data into a nice CSV file(something you would use Microsoft Excel to open). There’s only one issue with this. Data in a CSV has to match other data, otherwise it is placed into another row or column. Well when I created all those extra rewards, some of the names didn’t match. When I finally opened the CSV I was greeted by 480 backers worth of data, spread across hundreds of rows and columns. It took me a full 20 hours to recreate the data into something I could actually read and track. I should of paid someone on Upwork to handle the data, but maybe next time.

You should be prepared and figure out what method your going to use to track backer data and related data. There are many 3rd party options that I have heard about that are better at tracking a large amount of reward options. Kickstarter’s system works fine for campaigns under 5 reward options.

I spent a tremendous amount of time combing through messages, backer surveys, and Shipstation trying to get rewards correct. I completely messed up a good portion (Likely around 10%) of rewards because the data was incorrect. If you mess something up, you have to go back and spend time fixing it. Then you need to pay for shipping again. Shipping some of these tweezers overseas costs over $20, so you can see how messing the data up can become costly.

Lessons learned: Either pay someone to handle the campaign data, or be prepared to spend a lot of your own time making sure everything is correct. Screwing up the campaign data is the quickest way to destroy margins on any rewards.

Final Thoughts

What an awesome learning experience this whole thing has been. While I came really close to break even on the whole campaign, I learned a tremendous about manufacturing, packaging, managing data, managing customers, and shipping rewards.

The overall experience was well worth the learning curve. I am glad that the Kickstarter didn’t end up bigger then it was. It was stressful enough at the size that it was. I am likely to do more Kickstarters in the future. The 5% fund fee is not expensive for what you are gaining.

I had a very positive experience as far as far as dealing with backers went. Everyone was actually very positive and very supportive. I made sure to make regular updates, and respond to messages in a timely manner. I actually expected a lot worse, and was pleasantly surprised by how friendly everyone was. Even if I really messed things up a couple times for multiple people. I tried to make sure everyone was pleased at the end of the day.

Overview

Needed some steel bar bent. Rather then heating it up and bending, I came up with this super simple machined designed.

Used Fusion 360’s new ‘Flat’ toolpath to get some awesome results on the top faces of the bending block.

Build List

  1. This cad file: Bender
  2. Some steel. Preferably 4130 or harder for the machined bender parts.
  3. 3/4 steel round bar for the pins. Harder round bar will last longer.
  4. Any style welder to weld the handle parts together

Write Up

  1. First machine the block, and swivel sections.
  2. Weld handle material to the end of the swivel section.
  3. Weld 3/4 steel round bar in place using the bore closest to the handle. Making sure the bottom surface has been ground down so no weld protrudes and gets in the way of the swivel.
  4. Take your other 3/4 steel round bar pins and drop them in place.
  5. The most forward holes are sized for 1/2 bar. So test bending that first.

8×8 Vacuum chuck

Table of Contents

Overview

Needed a custom sized vacuum chuck, so I made this.

  • Diameter of external hole is for 1/4 npt tap
  • Based on using Pierson Workholding’s gasket. I think it’s .125, can be purchased off the shelf.
  • Slots are .118″ wide, .095″ deep.
  • Designed to fit on an orange 8×8 ZPS pallet
  • Holes on top of chuck are for 1/4-20s for a top plate
  • Vacuum hole is a tapped 10-24 (Can just be a through hole, tapped to be plugged if needed)
  • One .25″ locating hole.

Build list

  1. This cad file: Download Link
  2. I used an Orangevise 8×8 pallet. Otherwise any sizable chunk of aluminum should do.

Overview

I needed lathe quality round parts, and at the time I only had the vertical mill. It’s actually not to difficult to get this to work smoothly. Programmed in Fusion360.

Build List

Credit to ‘Lucas is Busy’ for his post edits – https://www.youtube.com/channel/UCI6QZH0-Lv3fbWI194clvKA

Credit to Templar MFG on insta for the initial tool block cad model that I ended up modifying.

Links:
 

Overview

For the money, the blast cabinet from Harbor Freight (#68893) is a great value. I spent under $200 for both the cabinet and 80 grit glass media, using the usual 20% coupon you can get online. (No longer a thing..) We all know the reputation this cabinet has though. It’s well known this cabinet leaks media quite bad. This results in dust flying around your shop, and it makes visibility pretty bad inside the cabinet.  Below is a compressed list of what I’ve modded so far.This will get you up and running, there’s still a ton of mods that can be accomplished to really get some high end performance out of this thing. Down the line I will be upgrading the gun, and going to a media regulator / foot pedal.

Required Materials

  1. The cabinet– Model #68893
  2. Sealant – I bought 5x, only needed 3x
  3. Caulking gun – Needed to use the sealant.
  4. Light upgrade – I used one from Harbor freight, this one will work as well
  5. Outlet box (Get this anywhere)
  6. Outlet plug, or plug and combo switch for said outlet box
  7. A 3 prong power cord that you can cut one end off of. So just cut an extension cord up.
  8. Air regulator – Get some air drying filters if you are not drying the air prior to the cabinet
  9. Fittings for said air regular. (Everyone’s setup is different, I do recommend getting some 90 degree elbows though.
  10. Vacuum – Does not need to be high hp, just get a cheap one. I bought a Rigid from Home depot for $50.
  11. Dust regulator – I bought a Dust Stopper from Home Depot. The hose that comes with that is what I used to size the 3d printed adapter for the cabinet adapter. Any cyclone separator will work. You can even make your own for cheap following this video.
  12. Free download – Required 3d prints for the baffle, and rear hose adapter. Requires a 3D printer. Worse comes to worse you can make the adapters out of PVC.
  13. Misc air fittings, grommets, ect.

Quick Guide

  1. Seal the cabinet with your choice of sealant – I went with silicon
  2. Add an air regulator
  3. Install a standard outlet box for the new light and vacuum power
  4. Configure a dust collection system. Which includes, adding a vacuum, dust cyclone, hoses, and my sweet 3d printed adapters.

Seal The Cabinet

When assembling the cabinet I highly recommend using some sort of sealer on every single joint. Both inside and out. The older cabinets came welded, so you didn’t need to worry as much. The newest version (SKU# 68893) is assembled via a ton of bolts and flat panels. There is gasket material on the major joints, but this has proven to be rather insufficient for sealing. The cabinet needs to be sealed to perform its best. This is a crucial step, ignoring this means you should just ignore all the other mods.

I used 100% silicon. I have heard that polyurethane may be a better option for straight blasting. The polyurethane is going to resist tearing more than the silicon. I do plan on converting my blaster over to a vapor blaster in the future, which requires the cabinet to also be water leak proof. So I took extra care to hit every joint. I recommend either clear, or black sealant.

Tips For Sealing

  1. Seal the bottom basin before final assembly. It’s difficult to reach the inside joints when the basin is attached to the rest of the cabinet
  2. After running your bead of sealant, take a popsicle stick or your finger and gently run it down the length of the joint in the sealant. This will force the sealant to spread over both edges of the joint and create a significant better seal.
  3. Silicon is easy to clean when dry. Just rub and peel it away. Be careful about peeling silicon that is attached to your sealed joints. You may end up pulling the seal off.
  4. I added sealant even over the factory joint that had the tape gasket.
  5. Clean up any loose sealant when done. Your gun will not be able to shoot a large chunk of sealant, which will cause it to clog.

Adding a Regulator

This ones pretty self explanatory. You need to be able to regulate the PSI coming into the cabinet so you can fine tune how the gun is actually blasting the media. The glass media I am shooting has a wide range of applicable PSI. Something like 40 – 100PSI. I found out that the regulator I did buy was not going to fit running straight out of the cabinet. I put a 90 degree fitting on it to cure that problem. The closer to the cabinet hookup the better. Moister will kill the media and the gun quickly. So make sure you have some sort of air dryer prior to the gun.

Outlet Box and Lights

Adding an outlet box makes controlling the new light and the vacuum system you’ll be installing a lot more easy.

  1. Mount the outlet box wherever you’d like. I chose the left side of the cabinet because that is closest to the light. I recommend using bolts and washers for this. You can use self tapping screws, but they may loosen up over time.
  2. Chop the female end of an extension cord off. Wire in the outlet box plugs like any normal household outlet using your new extension cord. Make sure its long enough, and properly rated for both the light and vacuum together. You may want to opt for a switch somewhere in here. Than you can just leave the vacuum on, and switch it off at the outlet.
  3. Climb inside your cabinet and mount the new light you’ll be using. Make sure you already ran the plug for the light outside the cabinet before getting the order of operations backwards and cursing at the sky. If you’re planning on using a grommet around your lights cable, make sure that is also fitted before running the wires through the side of the cabinet. Make sure your lights cord is long enough to reach your new outlet box as well.
  4.  Plug it in, and hope nothing explodes.

Dust System and 3D Prints

Left side vent baffle stl – Click to download
Rear hose adapter stl – Click to download

After all that fun stuff, here’s where the real results are at. Using a vacuum and a dust cyclone will make this cabinet 10x better. You’ll be able to actually see, and your shop won’t look like the Sahara Desert. The reason you want to use some sort of dust filtration before your vacuum is it will reduce the change interval on the vacuums filter. The dust cyclone will trap all the loose media before it hits the vacuum. Rearranging how the cabinet handles air will also aid in this. This will also reduce the amount of media carry out as well. For some reason Harbor Freight decided that the left side opening was a great place for hooking up a vacuum. Problem with that is you end up shooting media right out of the cabinet. By switching from that left port, to using the one in the back, you can reduce media carry out.

  1. Download the two .stl’s for the adapters I have shown. The baffle will be secured inside over the left vent, and the hose adapter will be secured on the backside of the cabinet.
  2. Install the 3d printed baffle inside the cabinet. The gap goes towards the bottom. The baffle will fit over the factory hardware. I recommend leave the factory adapter attached. Use tape to secure the baffle in place. Use sealant around the edges of the baffle, making sure to not seal the bottom portion. Wait an hour, remove the tape, than seal where the tape was, again making sure not to seal the bottom.
  3. Take the 3d printed hose adapter which is sized for the hose that comes from the Home Depot Dust stopper. That hose has an OD of 1.785″. If you wish, you can edit the 3d model to fit your hose. Follow the same steps from step 2, and seal the adapter over the rear opening in the cabinet. Make sure the factory grommet is not installed.
  4. With the side vent open, hook your dust collector to the rear adapter, and then the dust collector to your vacuum of choice.
  5. Plug everything in and bask in your hard work, or whatever you do after accomplishing something.

Links For 3D Prints

    0
    Your Cart
    Your cart is emptyReturn to Shop
      Calculate Shipping
      Apply Coupon

      Designed, and Developed in USA

      Copyright © 2024 | Triiaxis

      All Rights Reserved